PREMIUM ACCESS
to 7 600+ kindergarten worksheets
GET IT
X
Paper Ladybug Craft Template
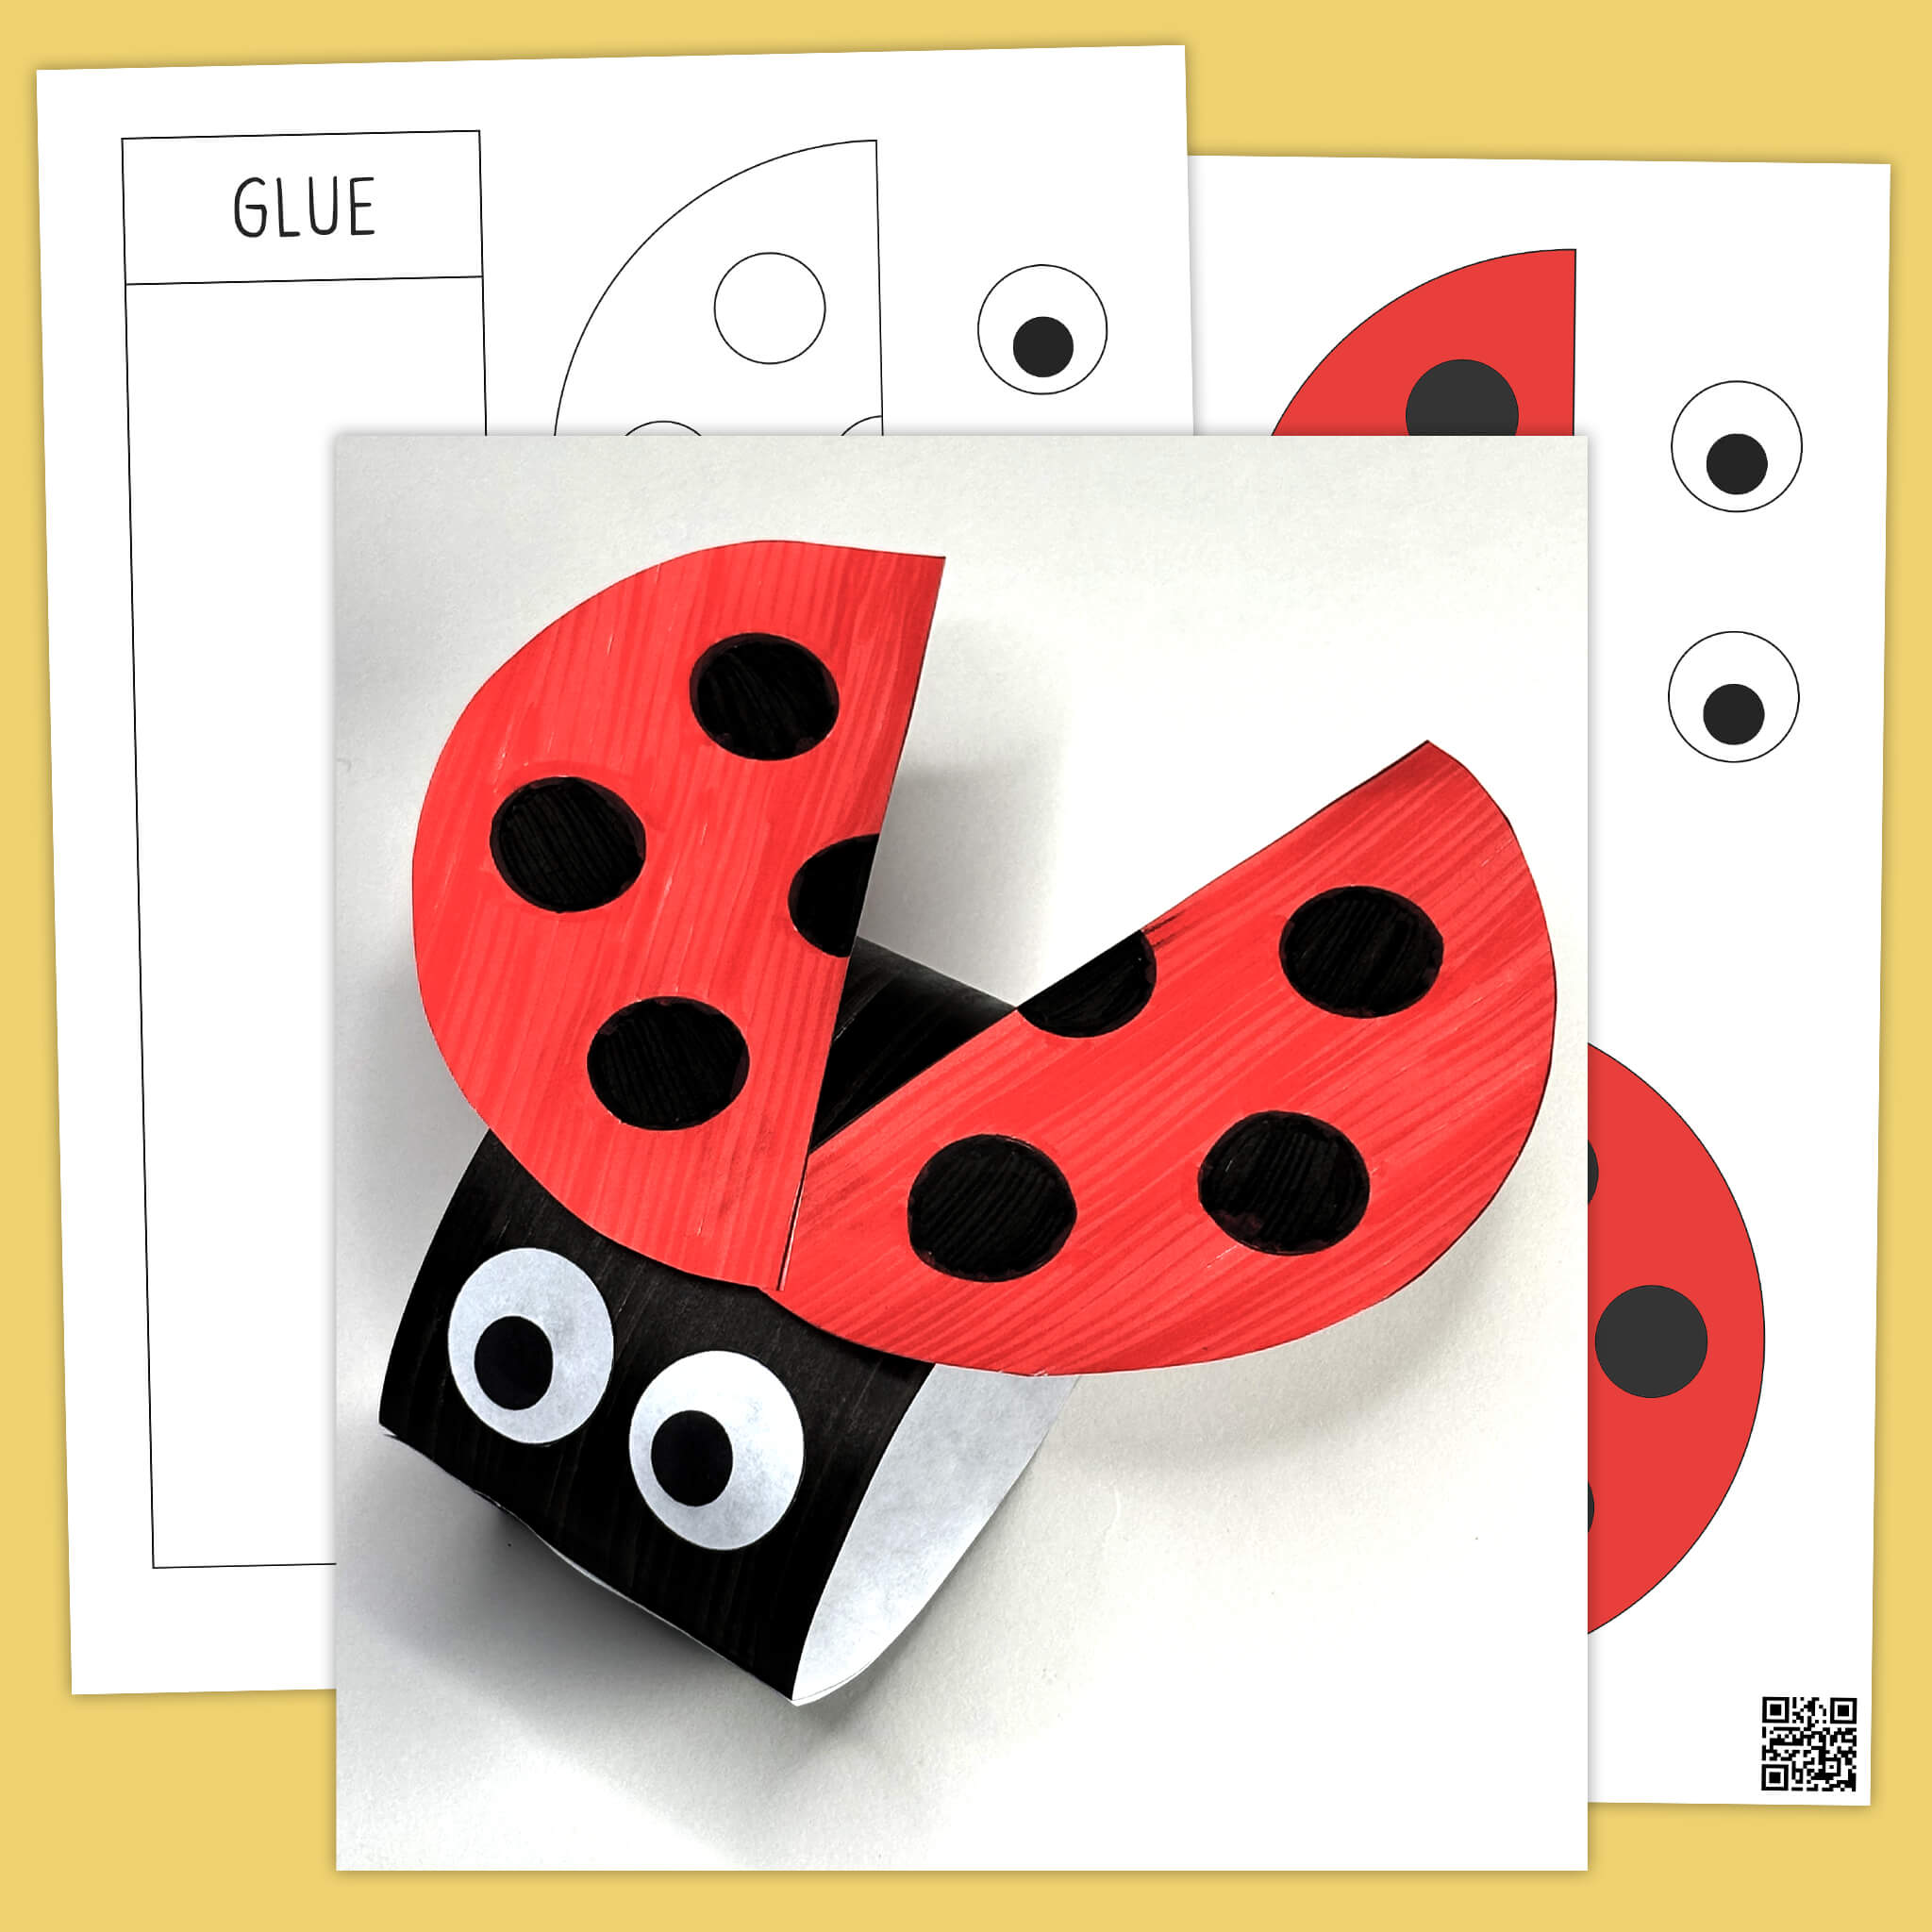
The «Ladybug» paper craft project turns ordinary paper cutting into a creative and enjoyable activity. With a simple template, children can make a 3D ladybug. This craft stimulates imagination and teaches patience and precision. Completing the project independently boosts self-confidence.
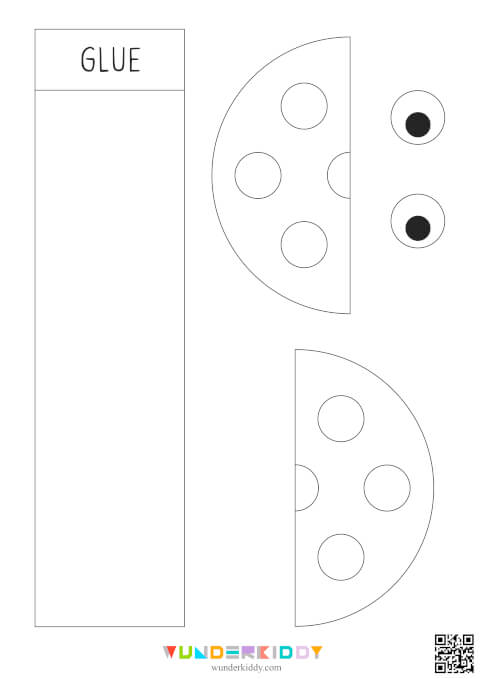
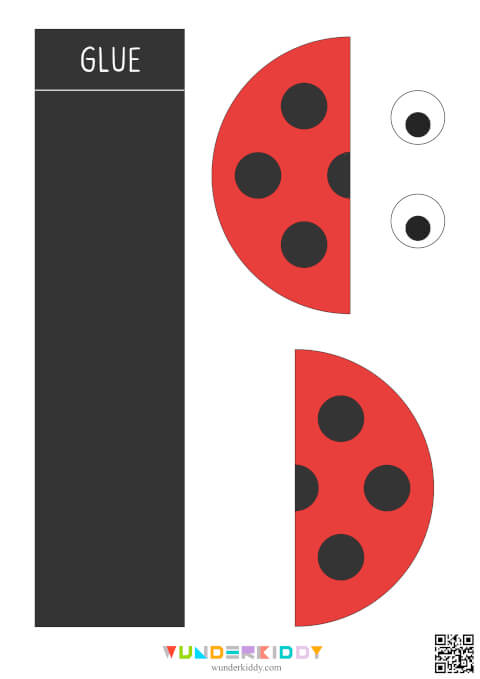
For your convenience, the material is available in two formats: full color and black-and-white outline. You can print them for free from our website. The full-color template is ideal for quick workshops, allowing children to focus on developing their scissor skills and properly gluing the pieces together. The black-and-white template allows children to express their creativity by coloring the ladybug's wings, spots, and body however they want, resulting in a unique design.
This simple ladybug craft template helps children improve their cutting skills, precision, and hand-eye coordination. Our child-friendly, illustrated instructions make this craft enjoyable and suitable for family time or creative workshops in a preschool setting.
Step-by-Step Guide
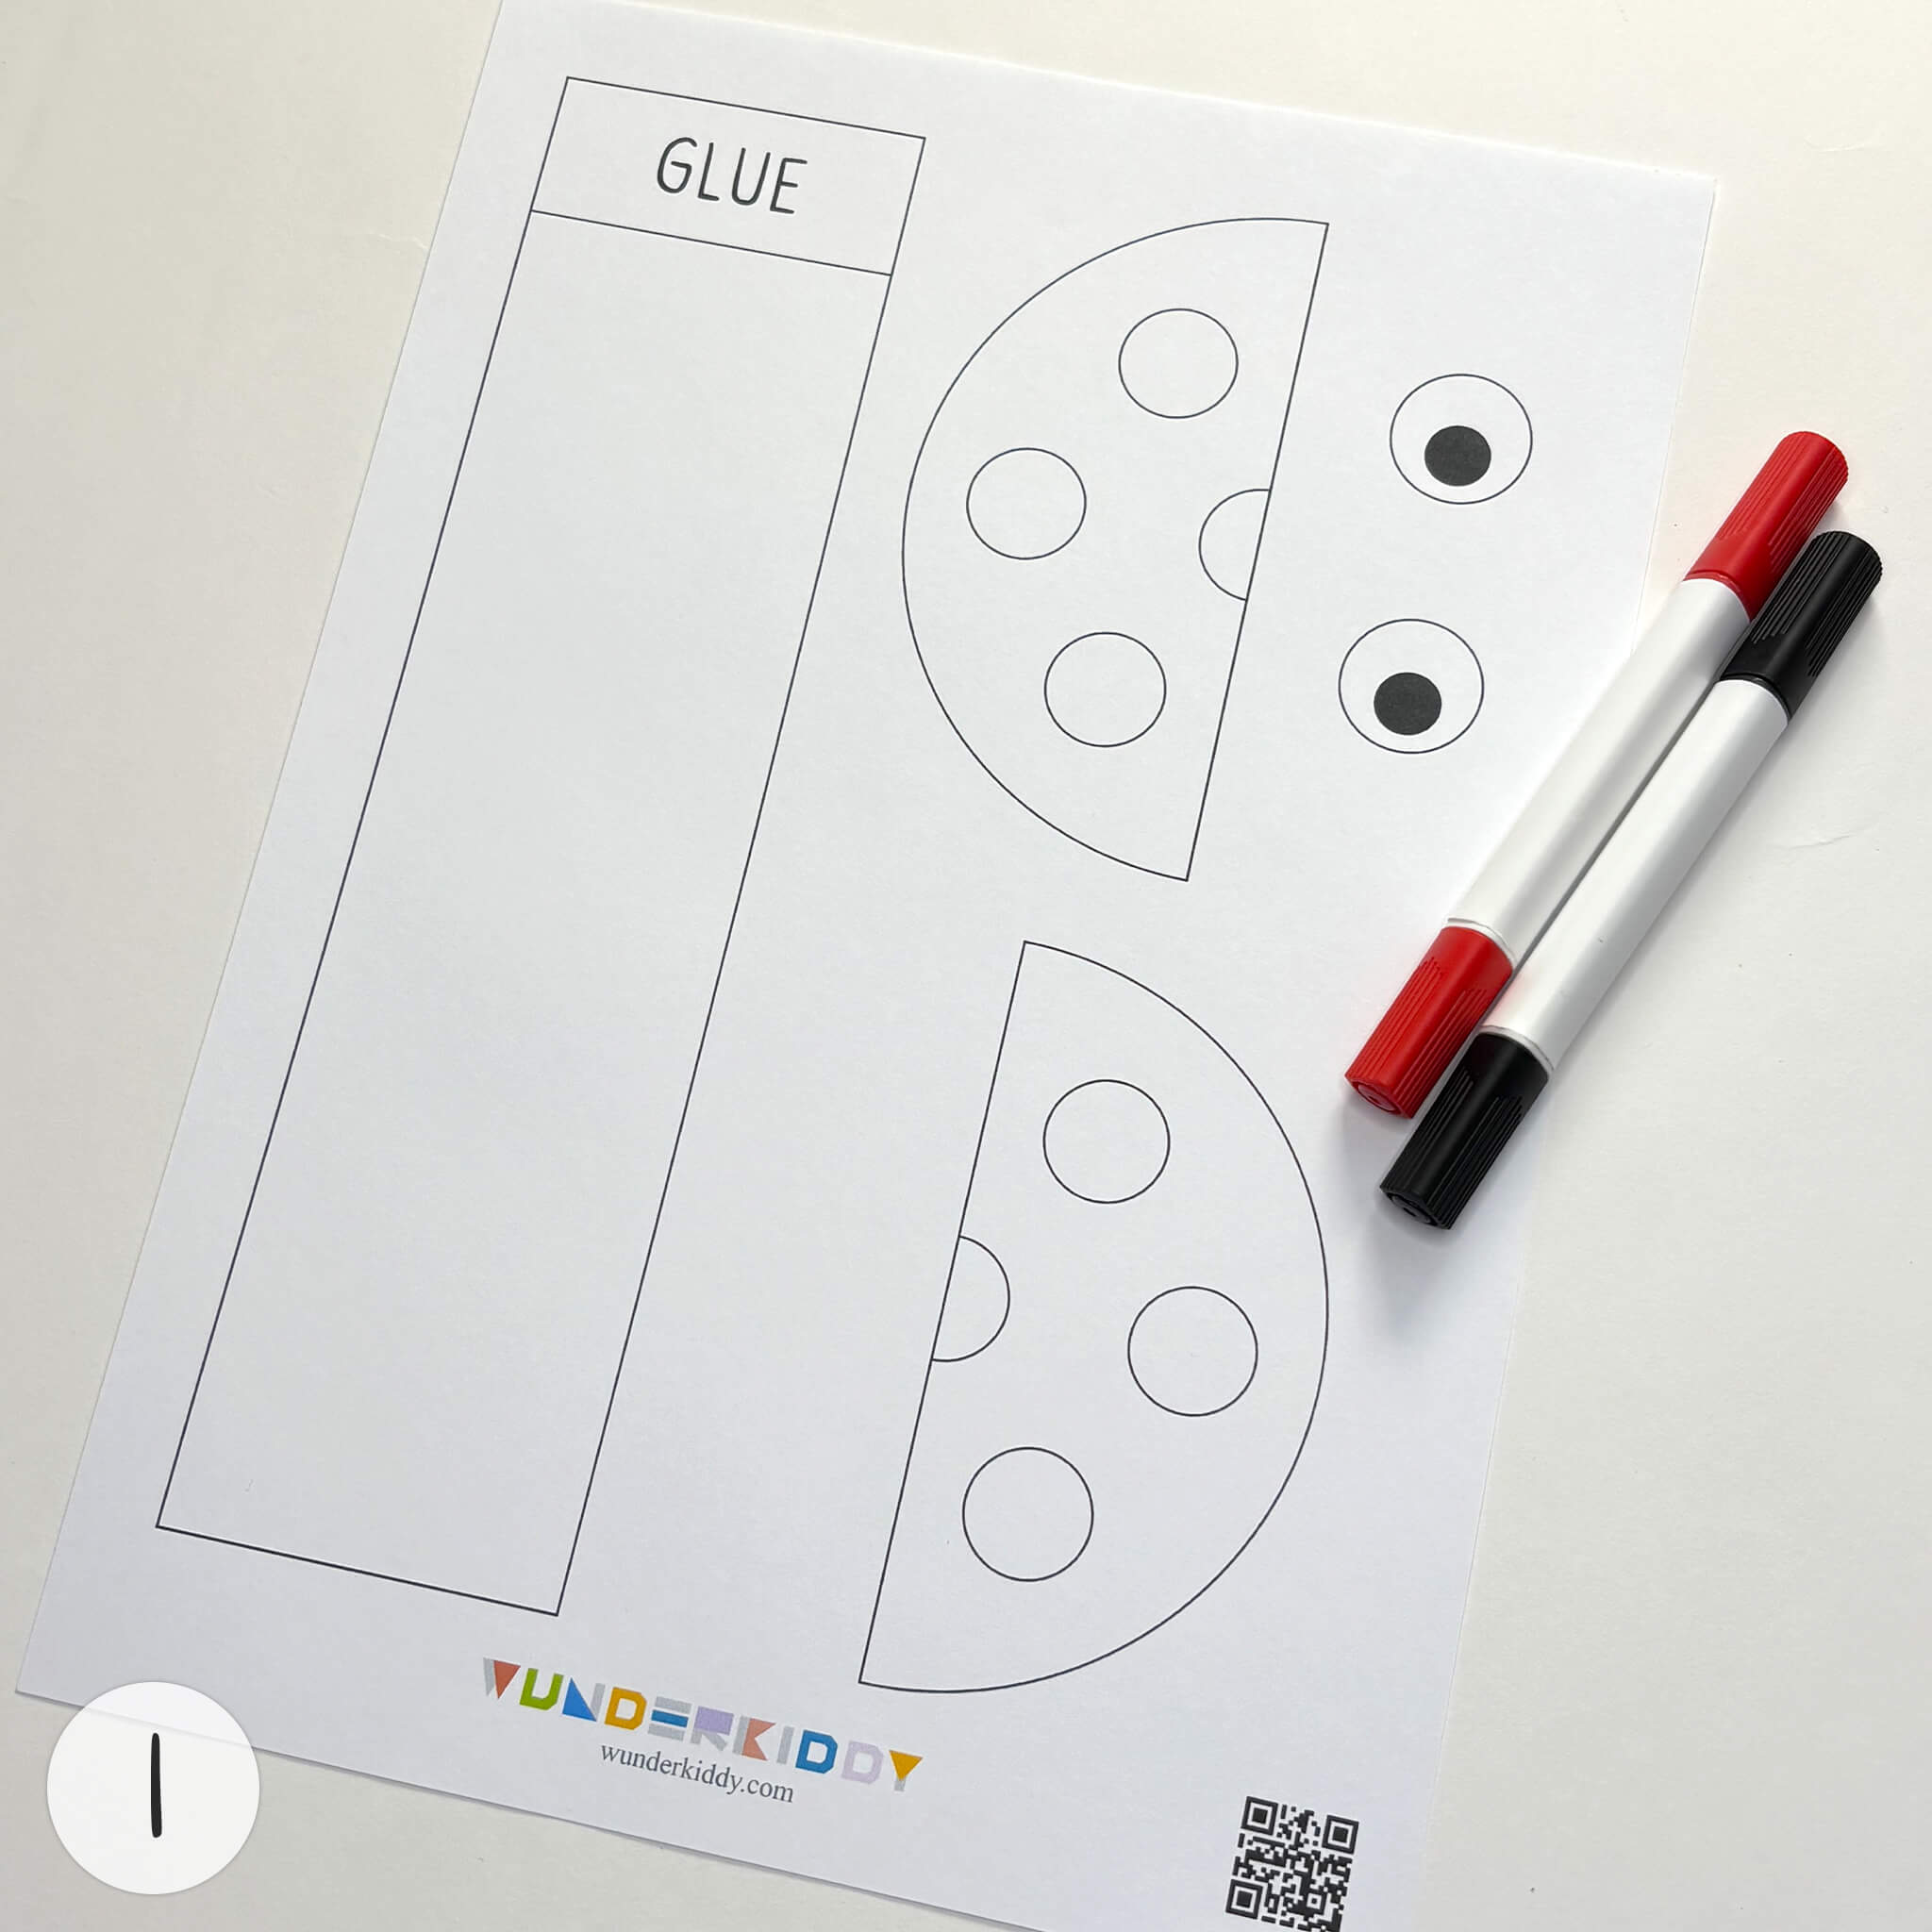
1
Print out the ladybug craft template and gather the necessary supplies: scissors, glue, and two markers (one red and one black). Make sure the following elements are clearly visible on the template: a long rectangle for the body with a space for glue, two half-circles for the wings, and two circles for the eyes.
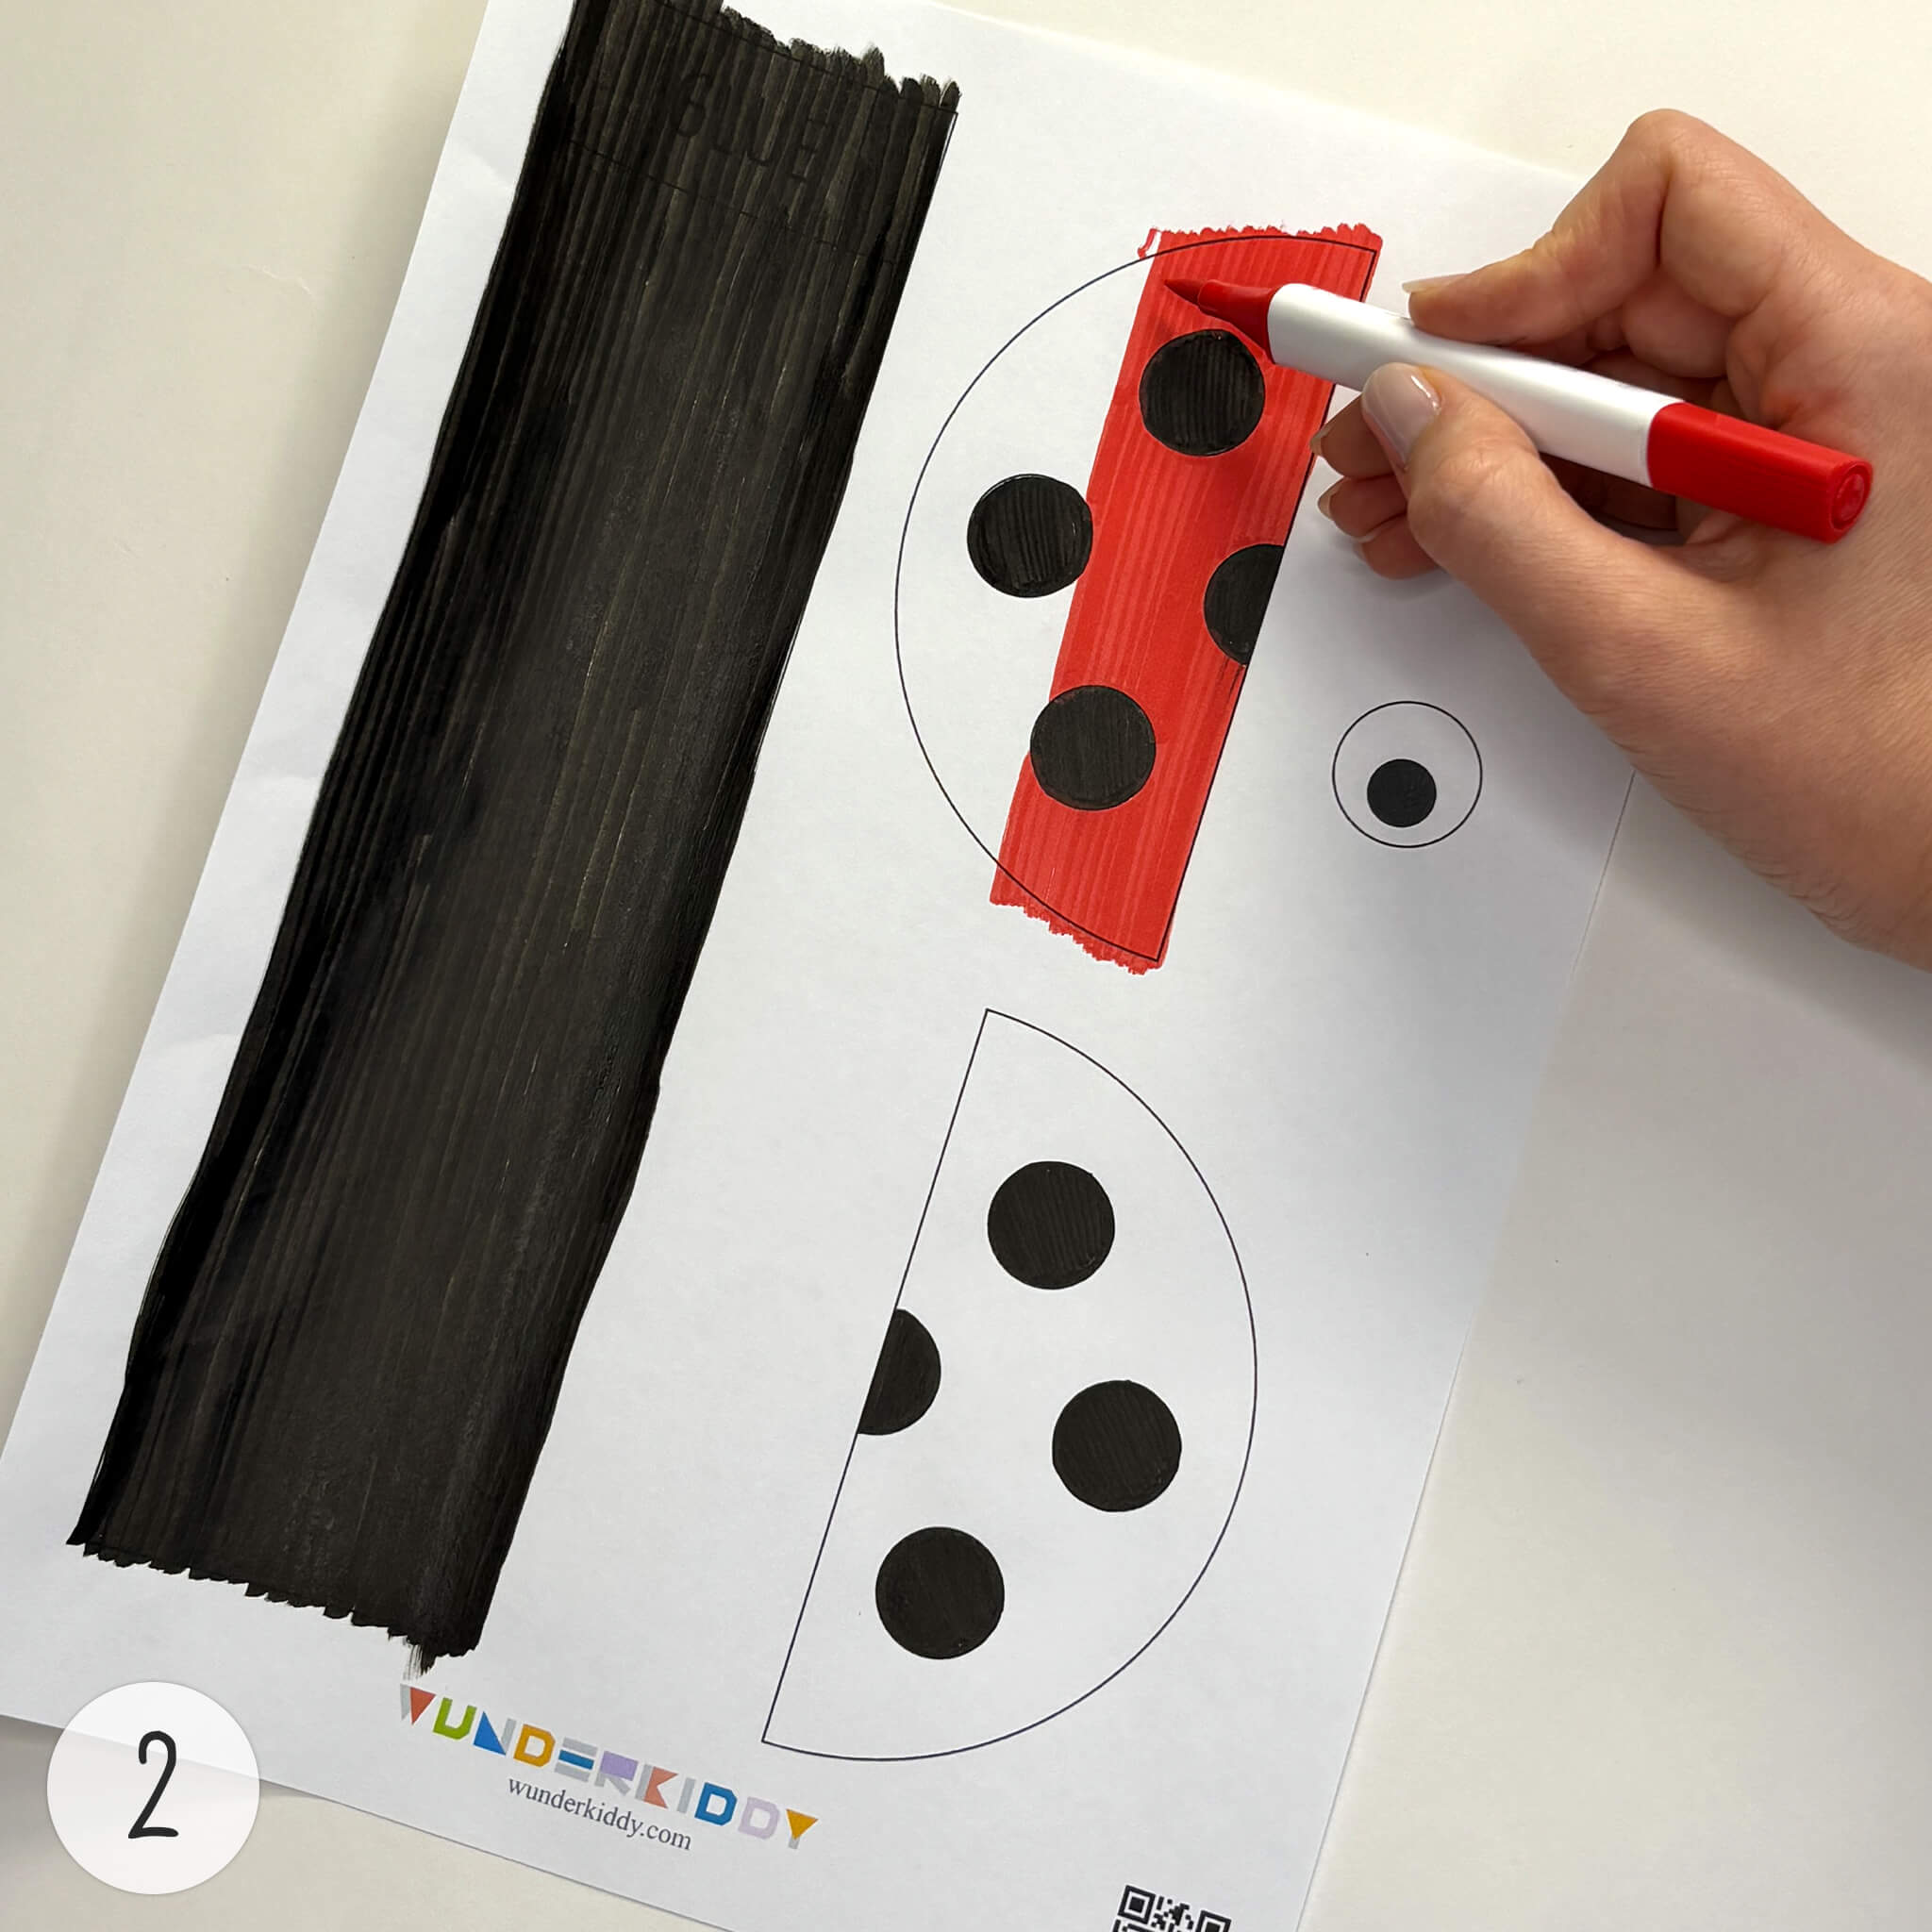
2
Use a black marker to color in the long rectangle on the ladybug's body. Do not color the area labeled «GLUE.» Use a red marker to color both wings completely, and then use a black marker to color all the dots on the wings.
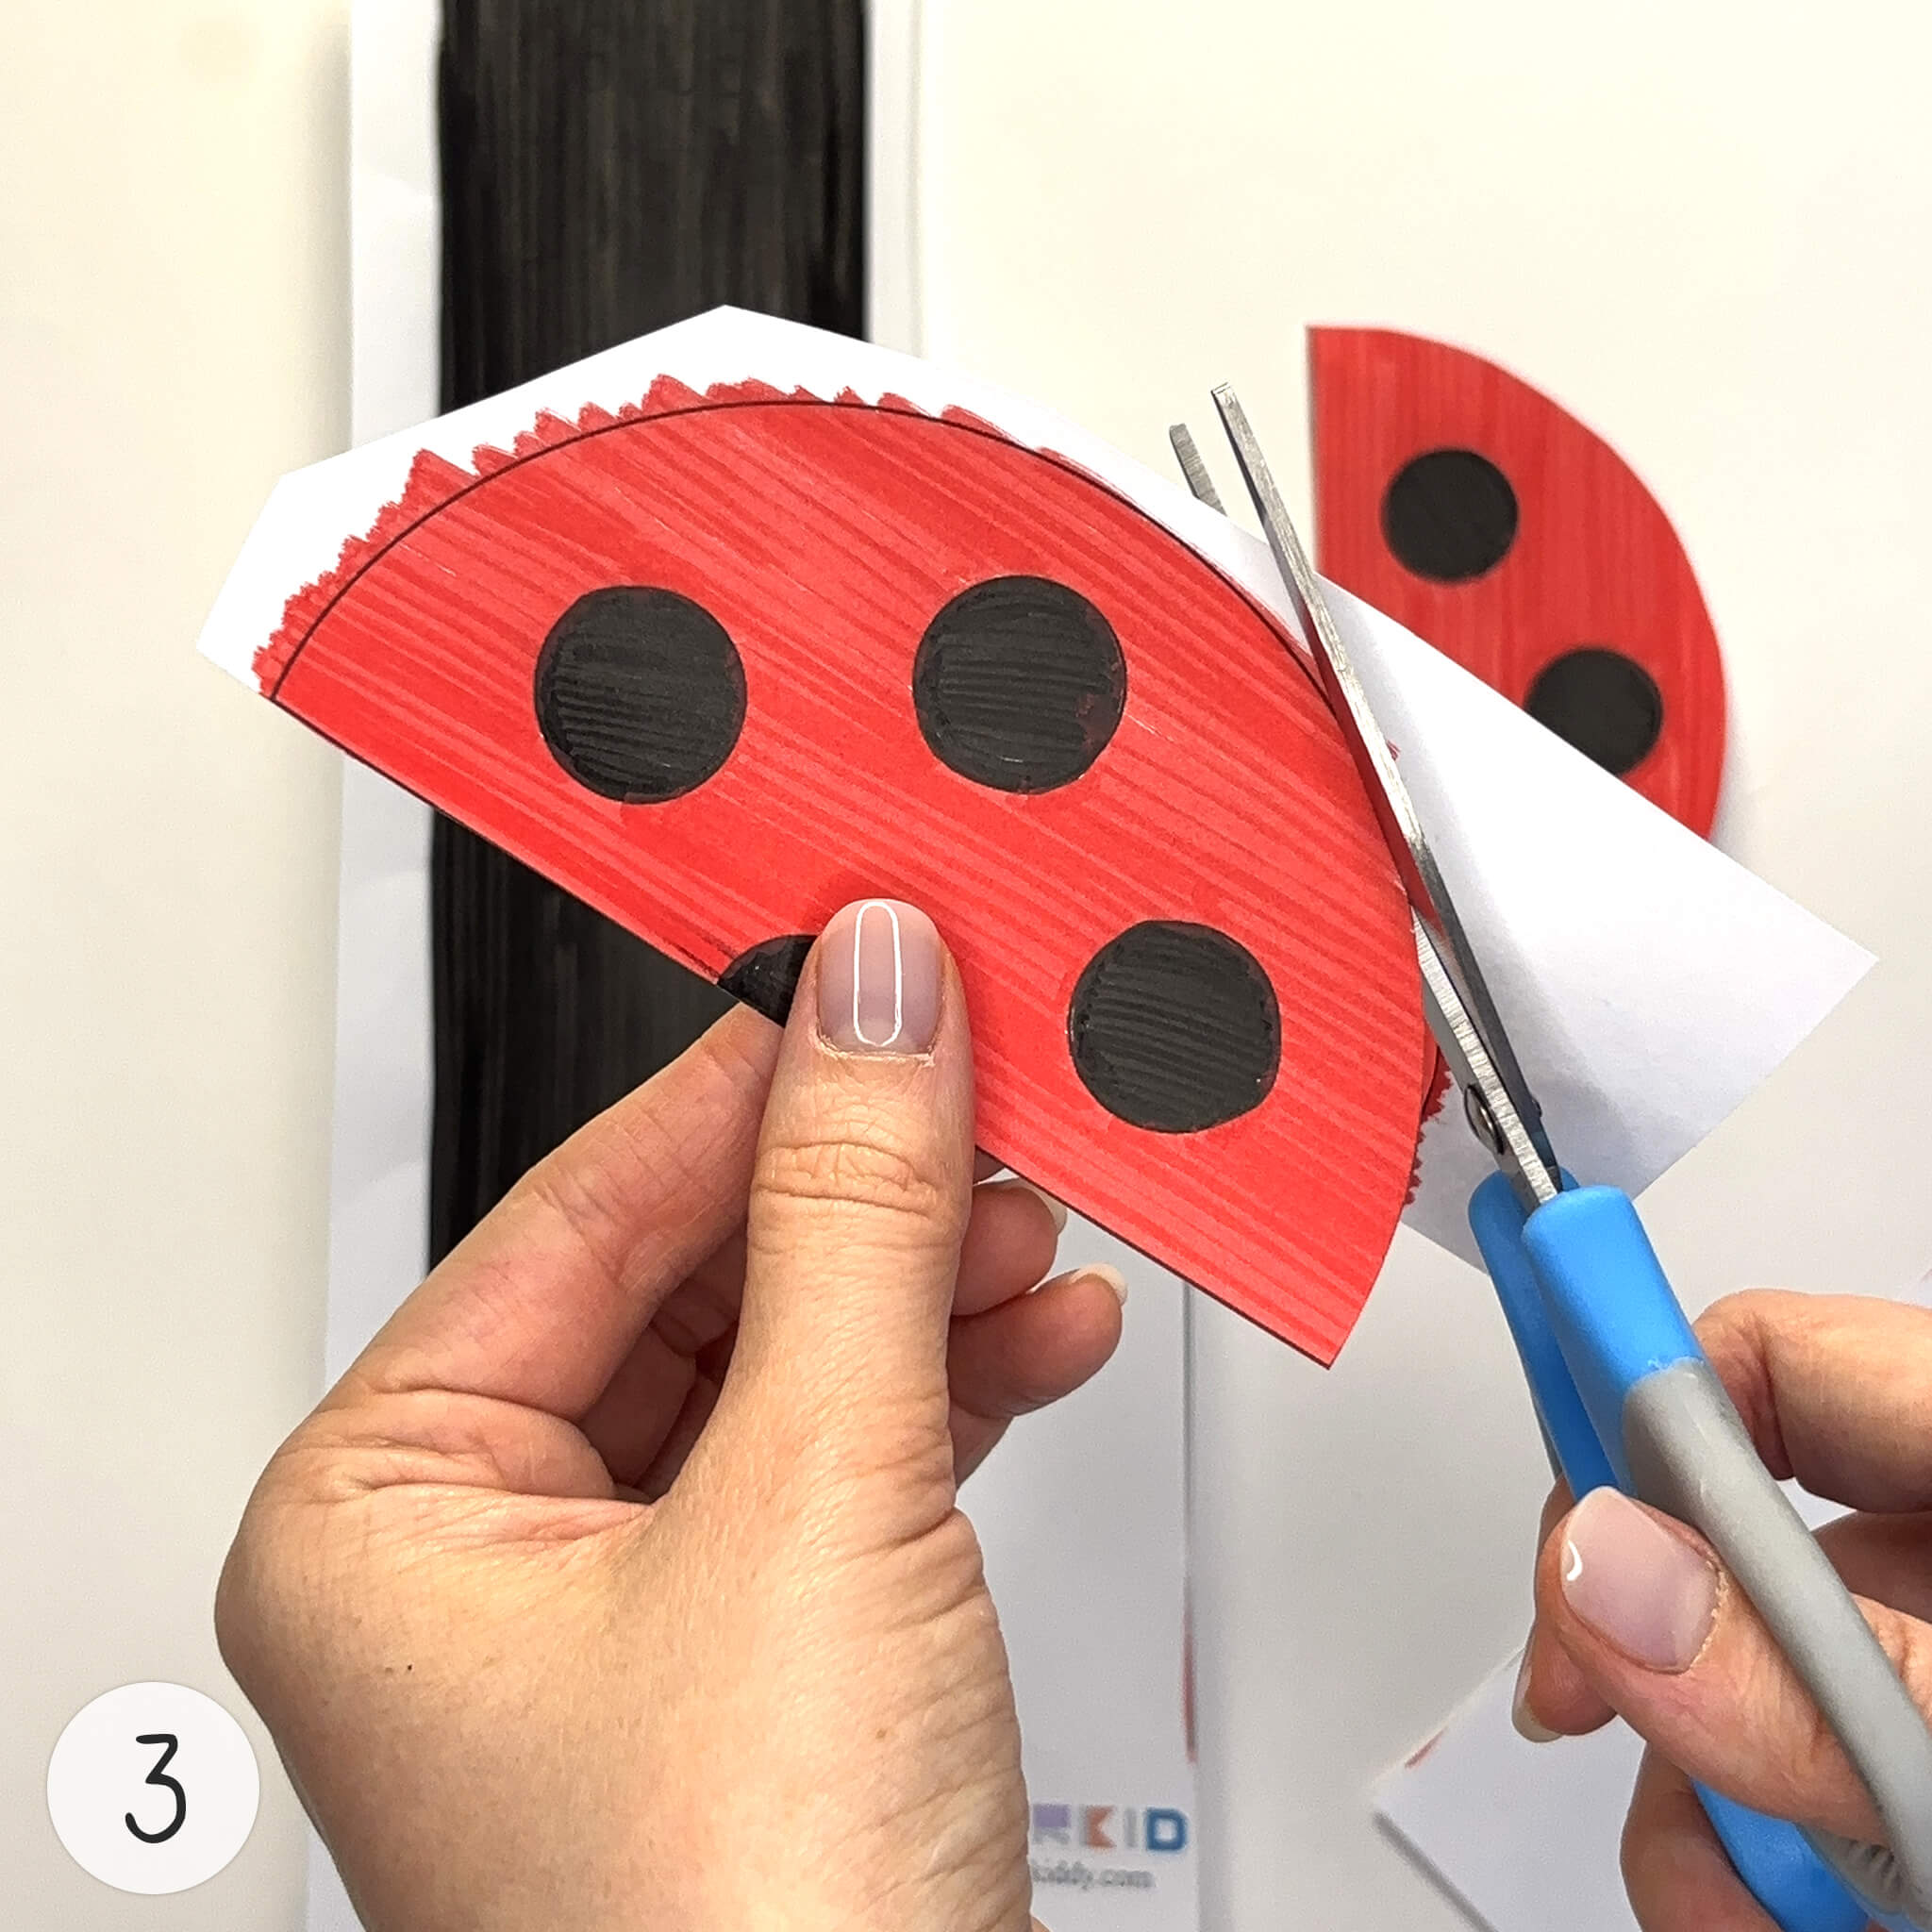
3
Carefully cut out all the colored elements along their outlines. This includes the long black rectangle for the body (including the glue area), the two red half-circles for the wings, and the two white circles for the eyes.
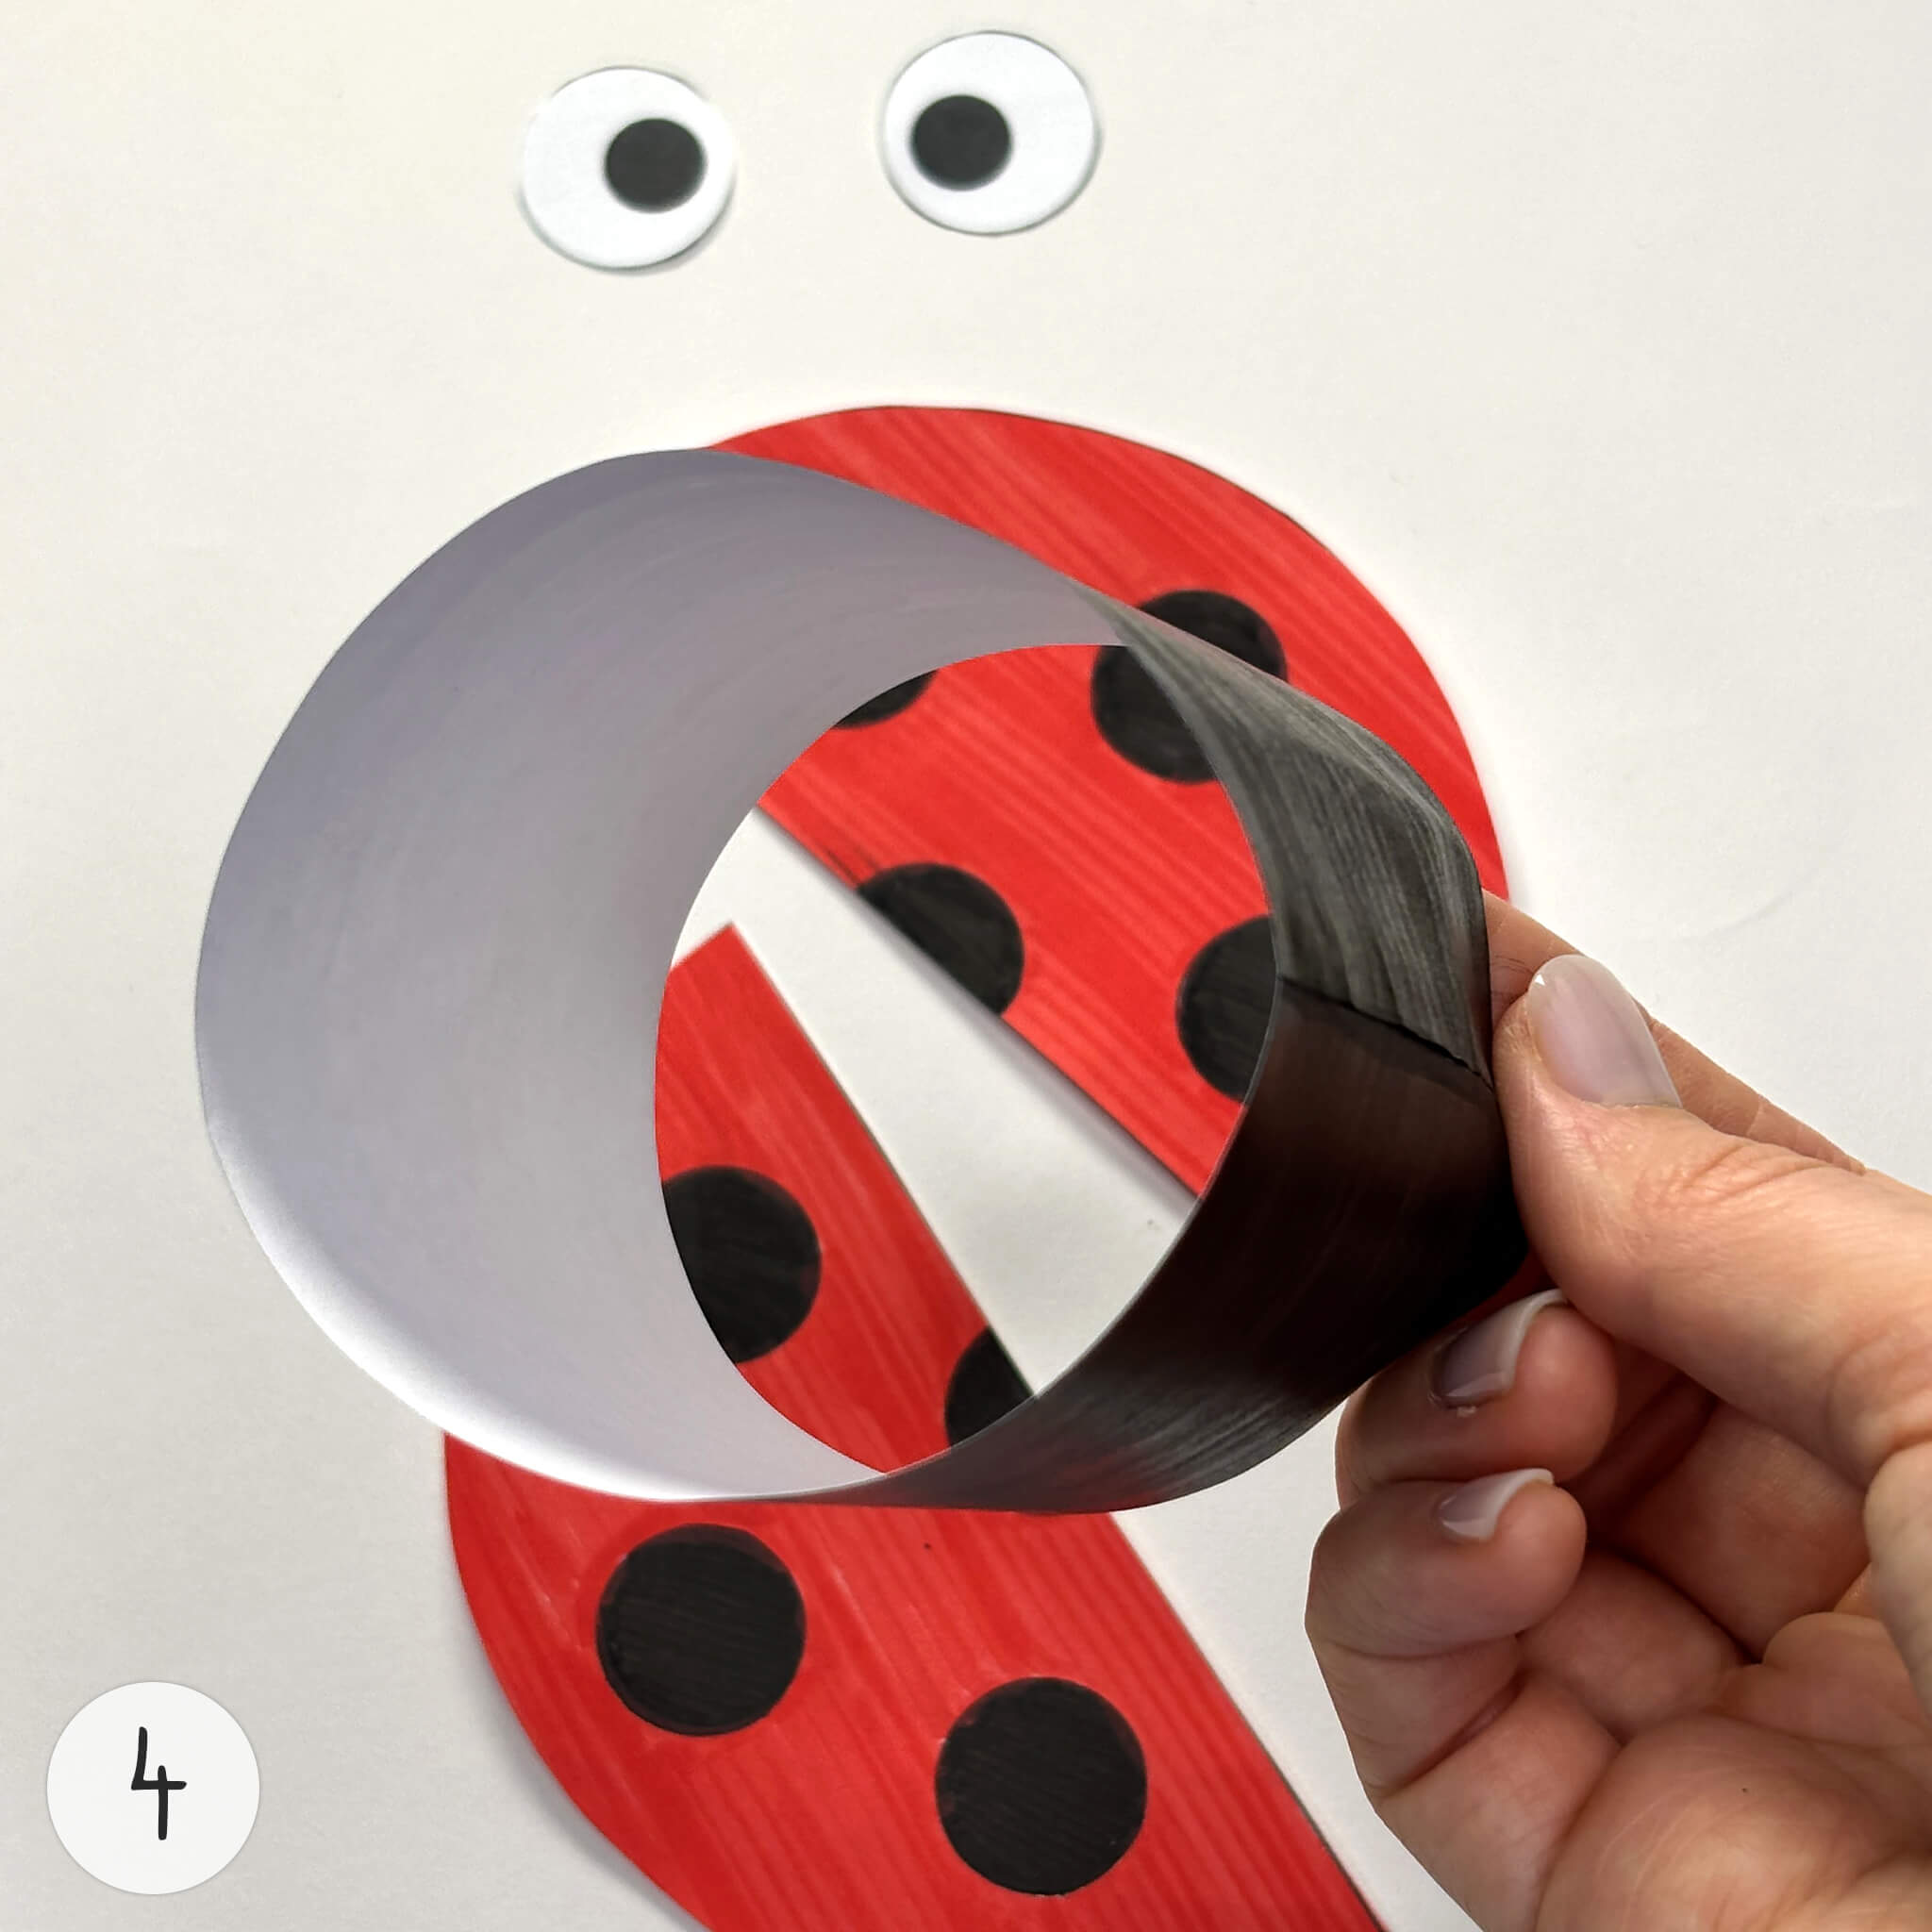
4
Take the cut-out black rectangle. Apply glue to the area marked «GLUE.» Roll the rectangle into a ring and glue the ends together along the marked line. You should end up with a 3D black ring.
5
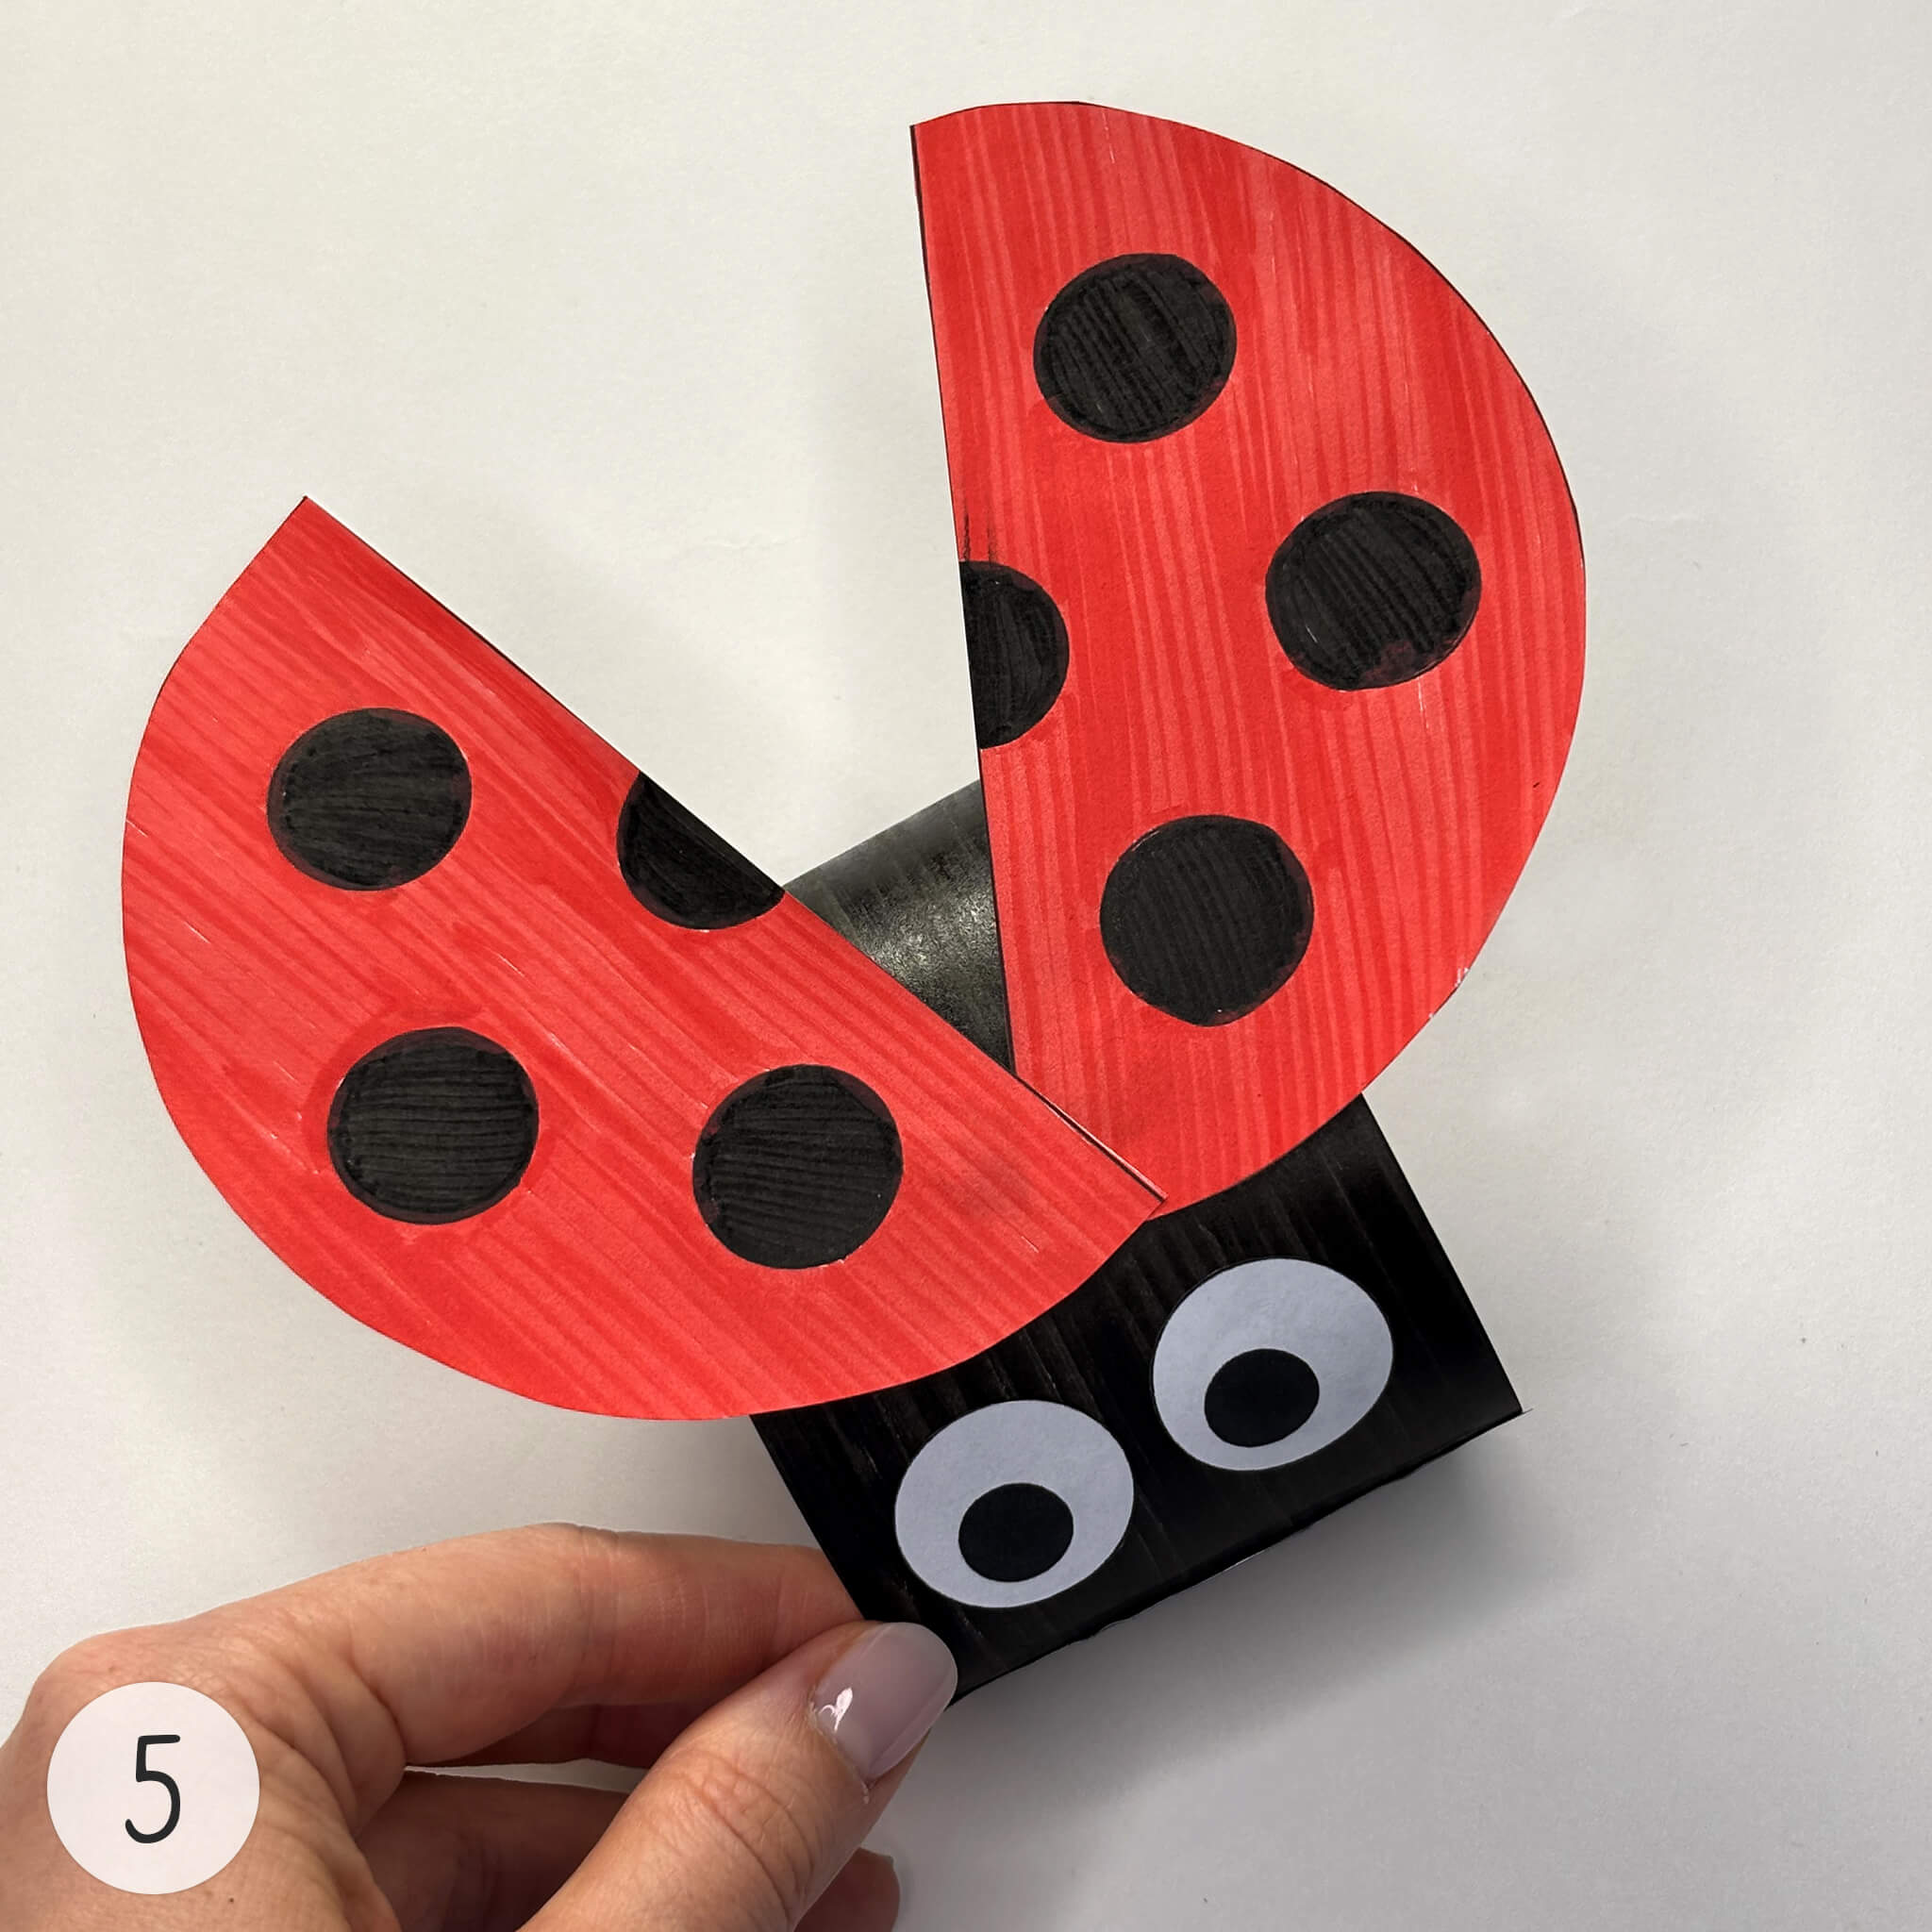
Apply a small amount of glue to the back of the ladybug eyes and attach them to the black ring. Then, apply glue to the edges of the two red wings and attach them above the eyes. Arrange them so that they overlap slightly, creating the appearance of spread wings.
6
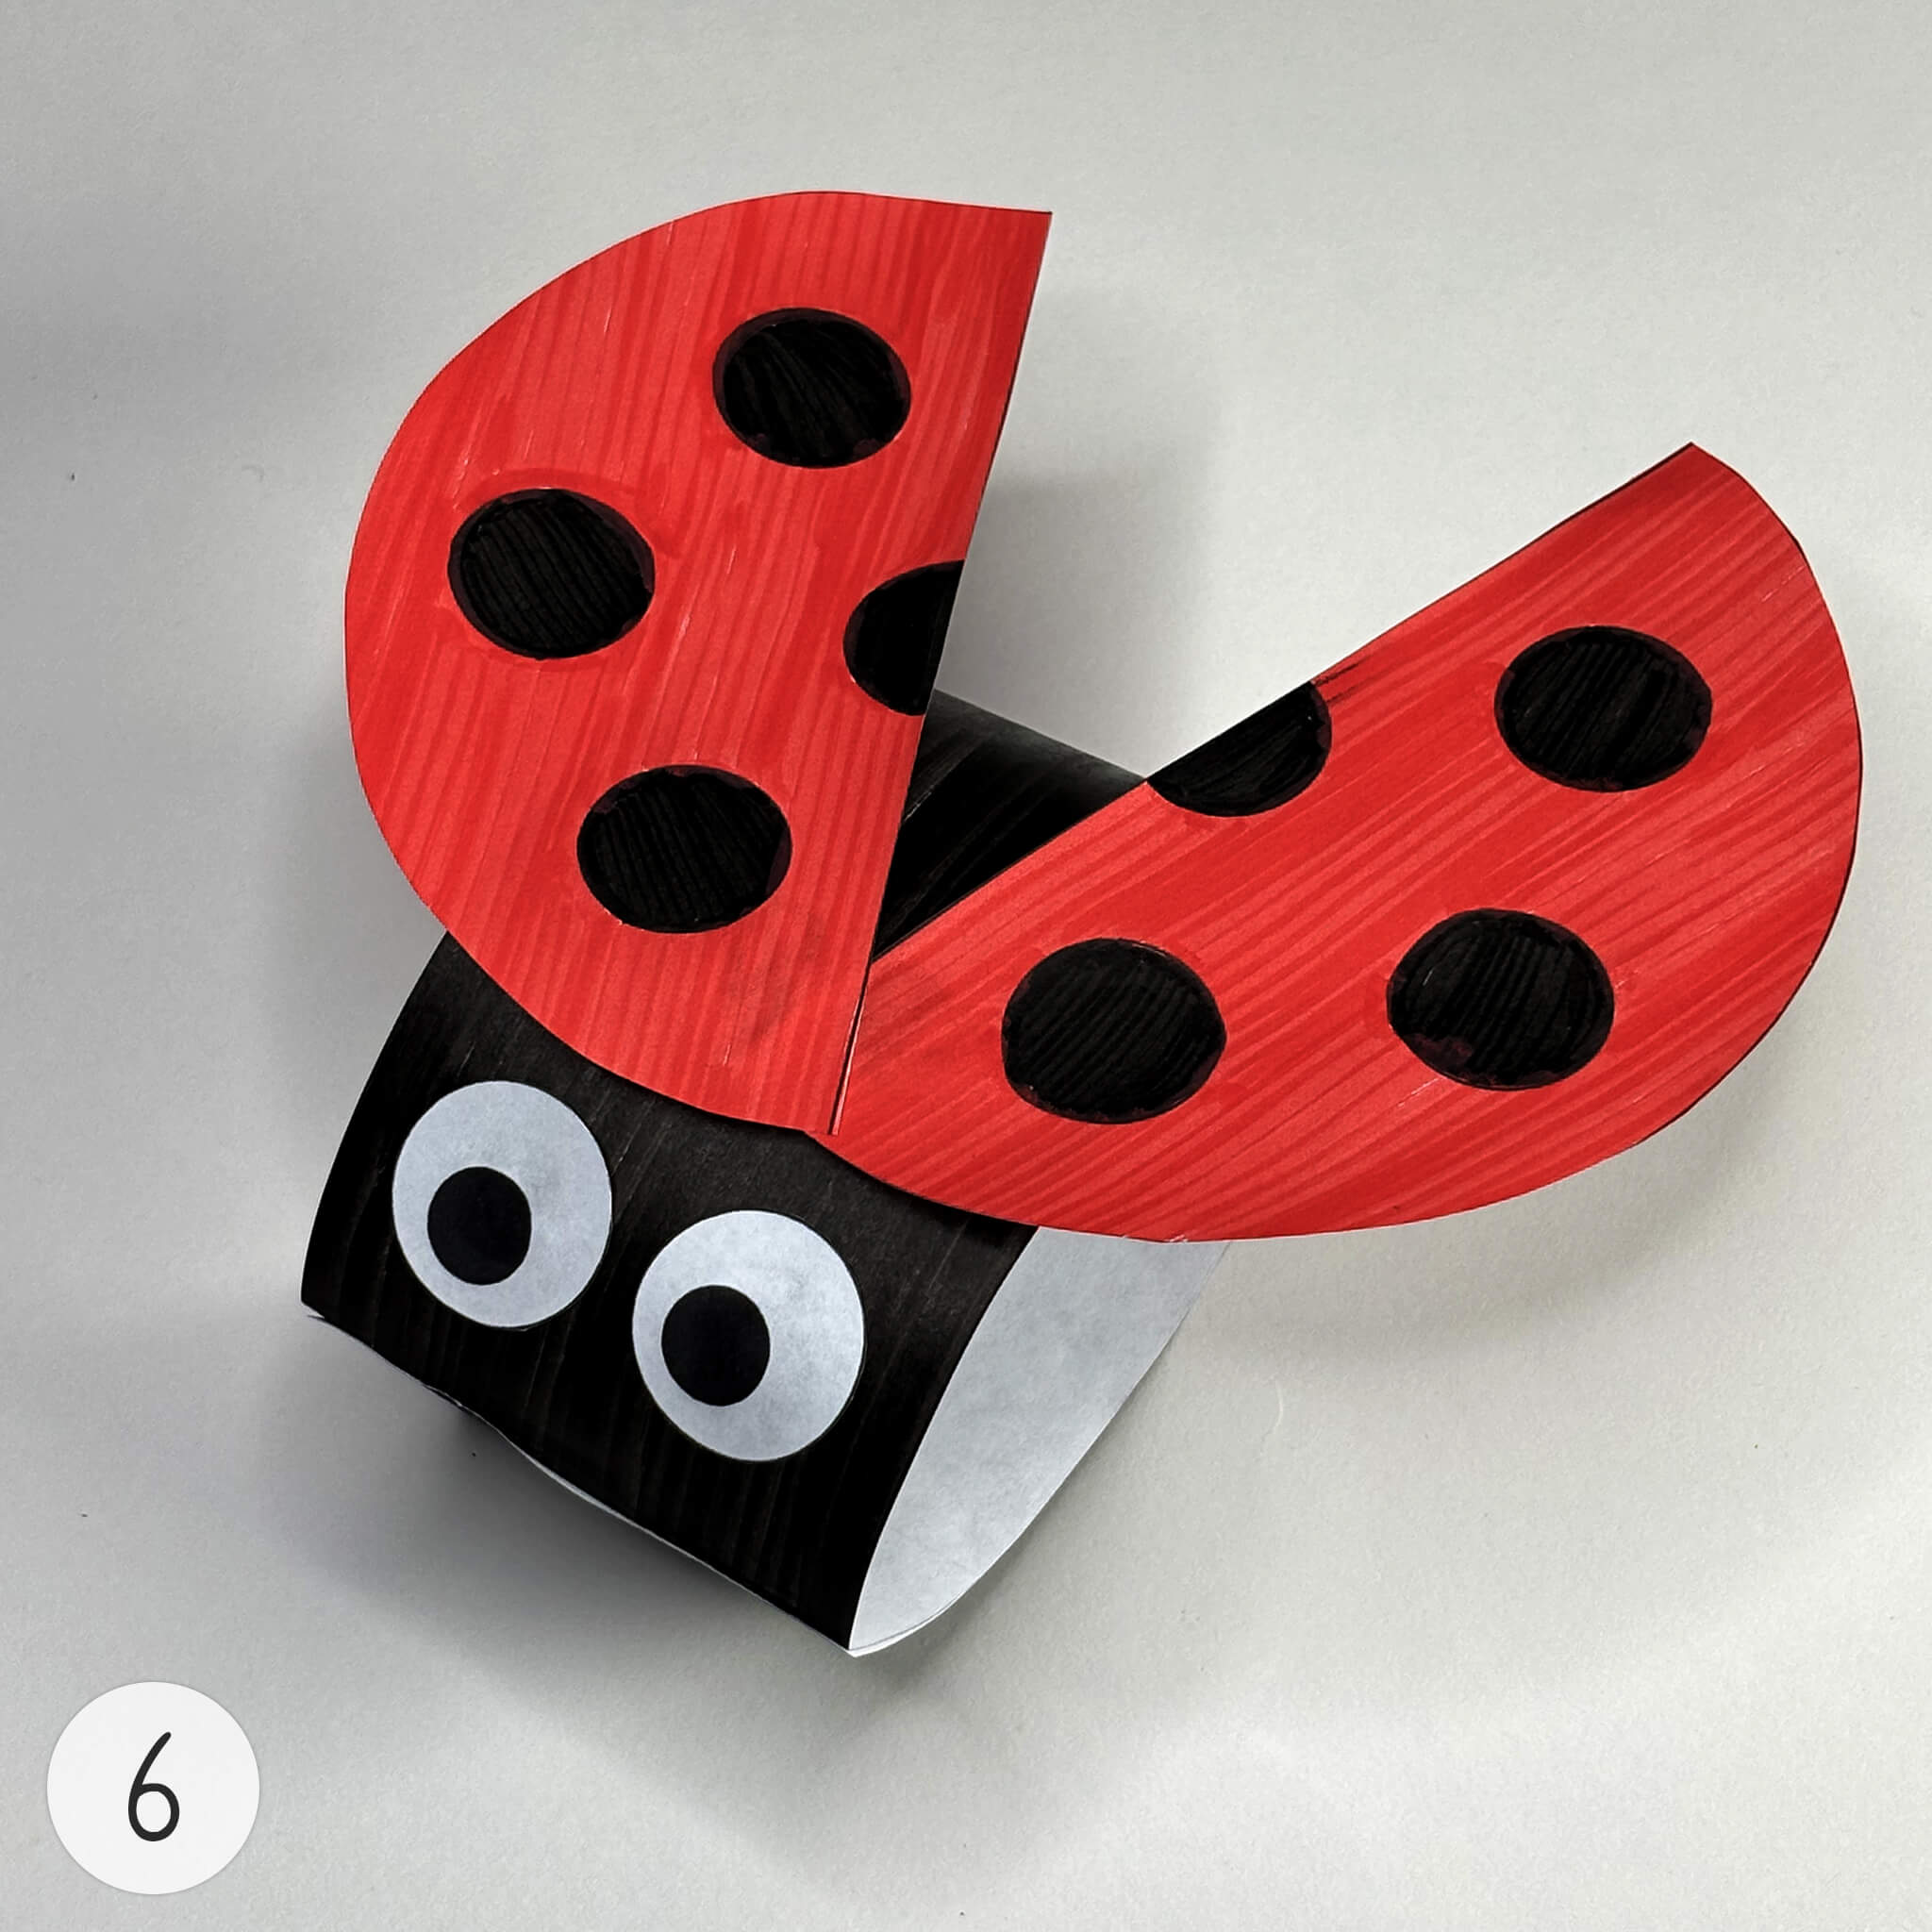
Your 3D ladybug craft is ready! It has a black body, two large eyes, and two bright red wings with black spots. You can now place it on the table as a decoration.
We also recommend
Comments
 Prethima Panneer Selvam
Very interesting!!
 Magdi
Magdi
Az unokám a Katica csoportba jár óvodába, jó lesz vele elkészíteni. Köszönöm