PREMIUM ACCESS
to 3 900+ kindergarten worksheets
GET IT
X
DIY Santa Claus Paper Craft Template
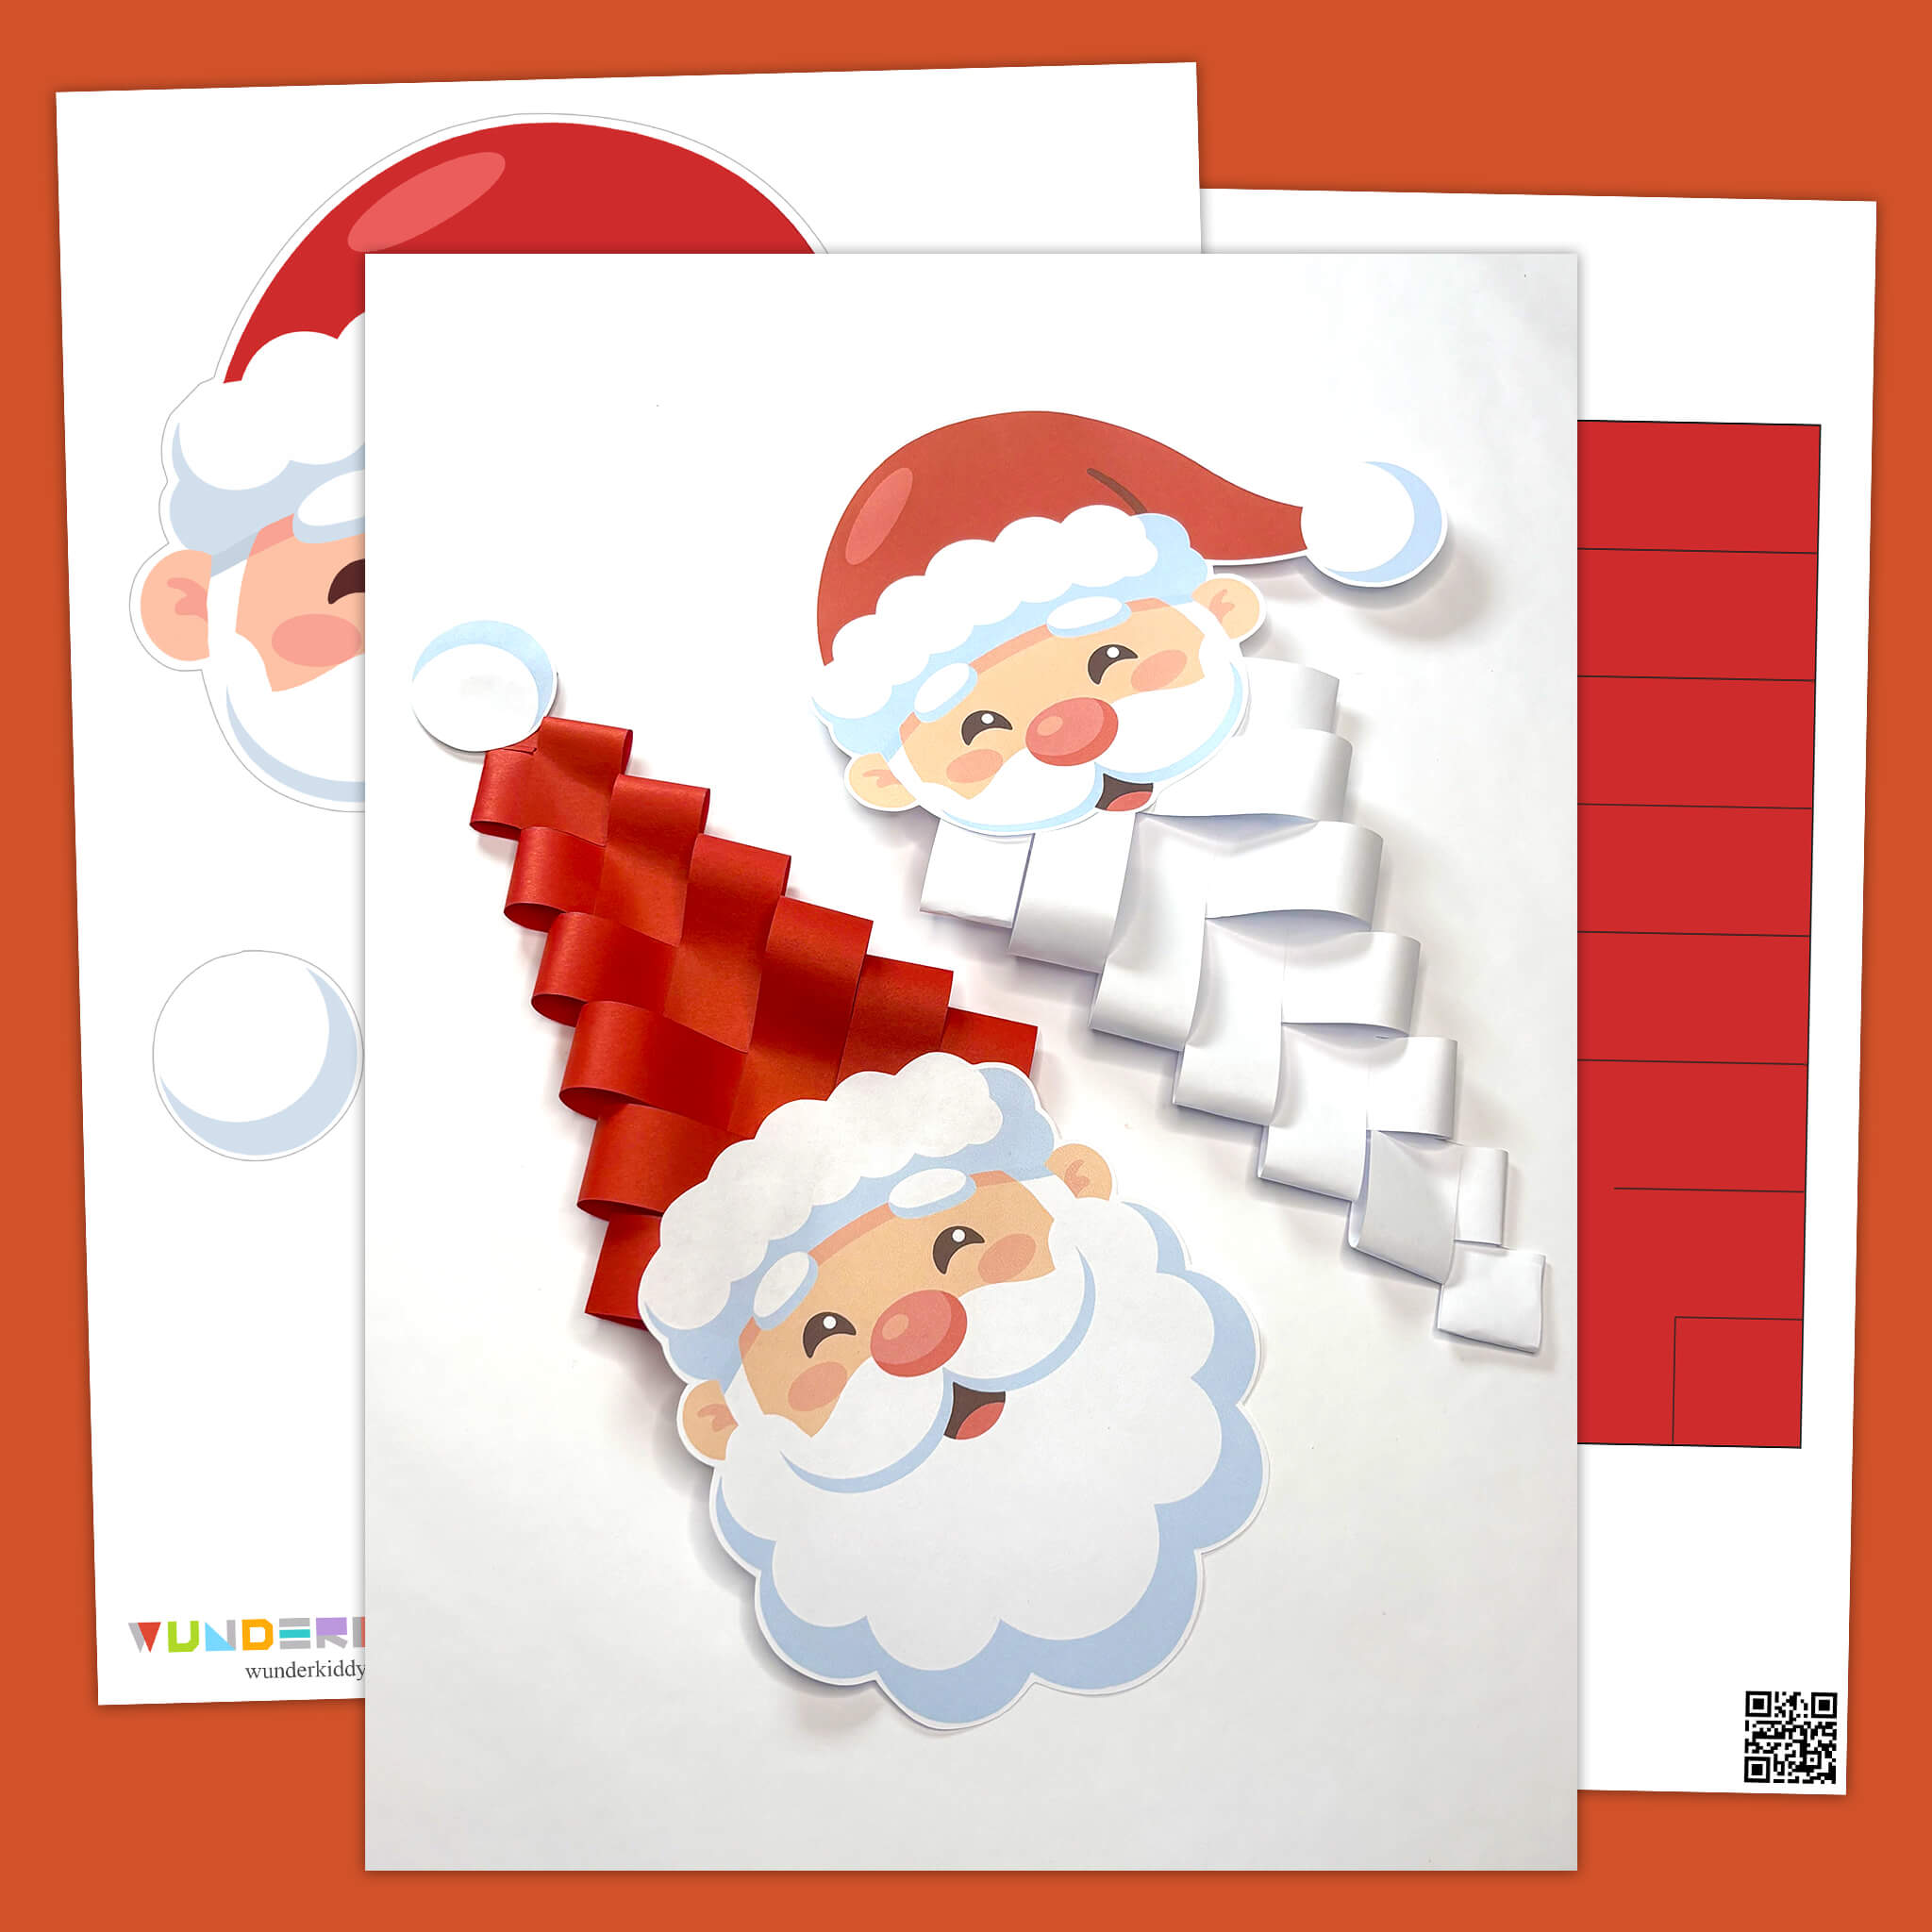


The «Santa Claus» winter paper craft is a creative project that turns simple paper cutting into a fun activity for kids. This Santa paper craft template is designed so that children can create a collage step by step using the strip-folding technique. This technique helps develop hand-eye coordination, finger strength, and spatial imagination.
The Christmas paper craft set includes a base with an image of Santa’s face, as well as special red and white strips for making a bushy beard and festive hat.
When preparing the materials, pay attention to the type of paper used. Thick paper or thin cardboard (with a weight of 160–200 g/m²) is best for the base of Santa’s face to ensure the craft holds its shape. Regular colored paper of a standard weight that folds easily is ideal for the strips. Follow these simple, step-by-step instructions to make a New Year's paper craft with your child and create festive decorations for the Christmas tree or rooms in your home.
Step-by-Step Guide
1
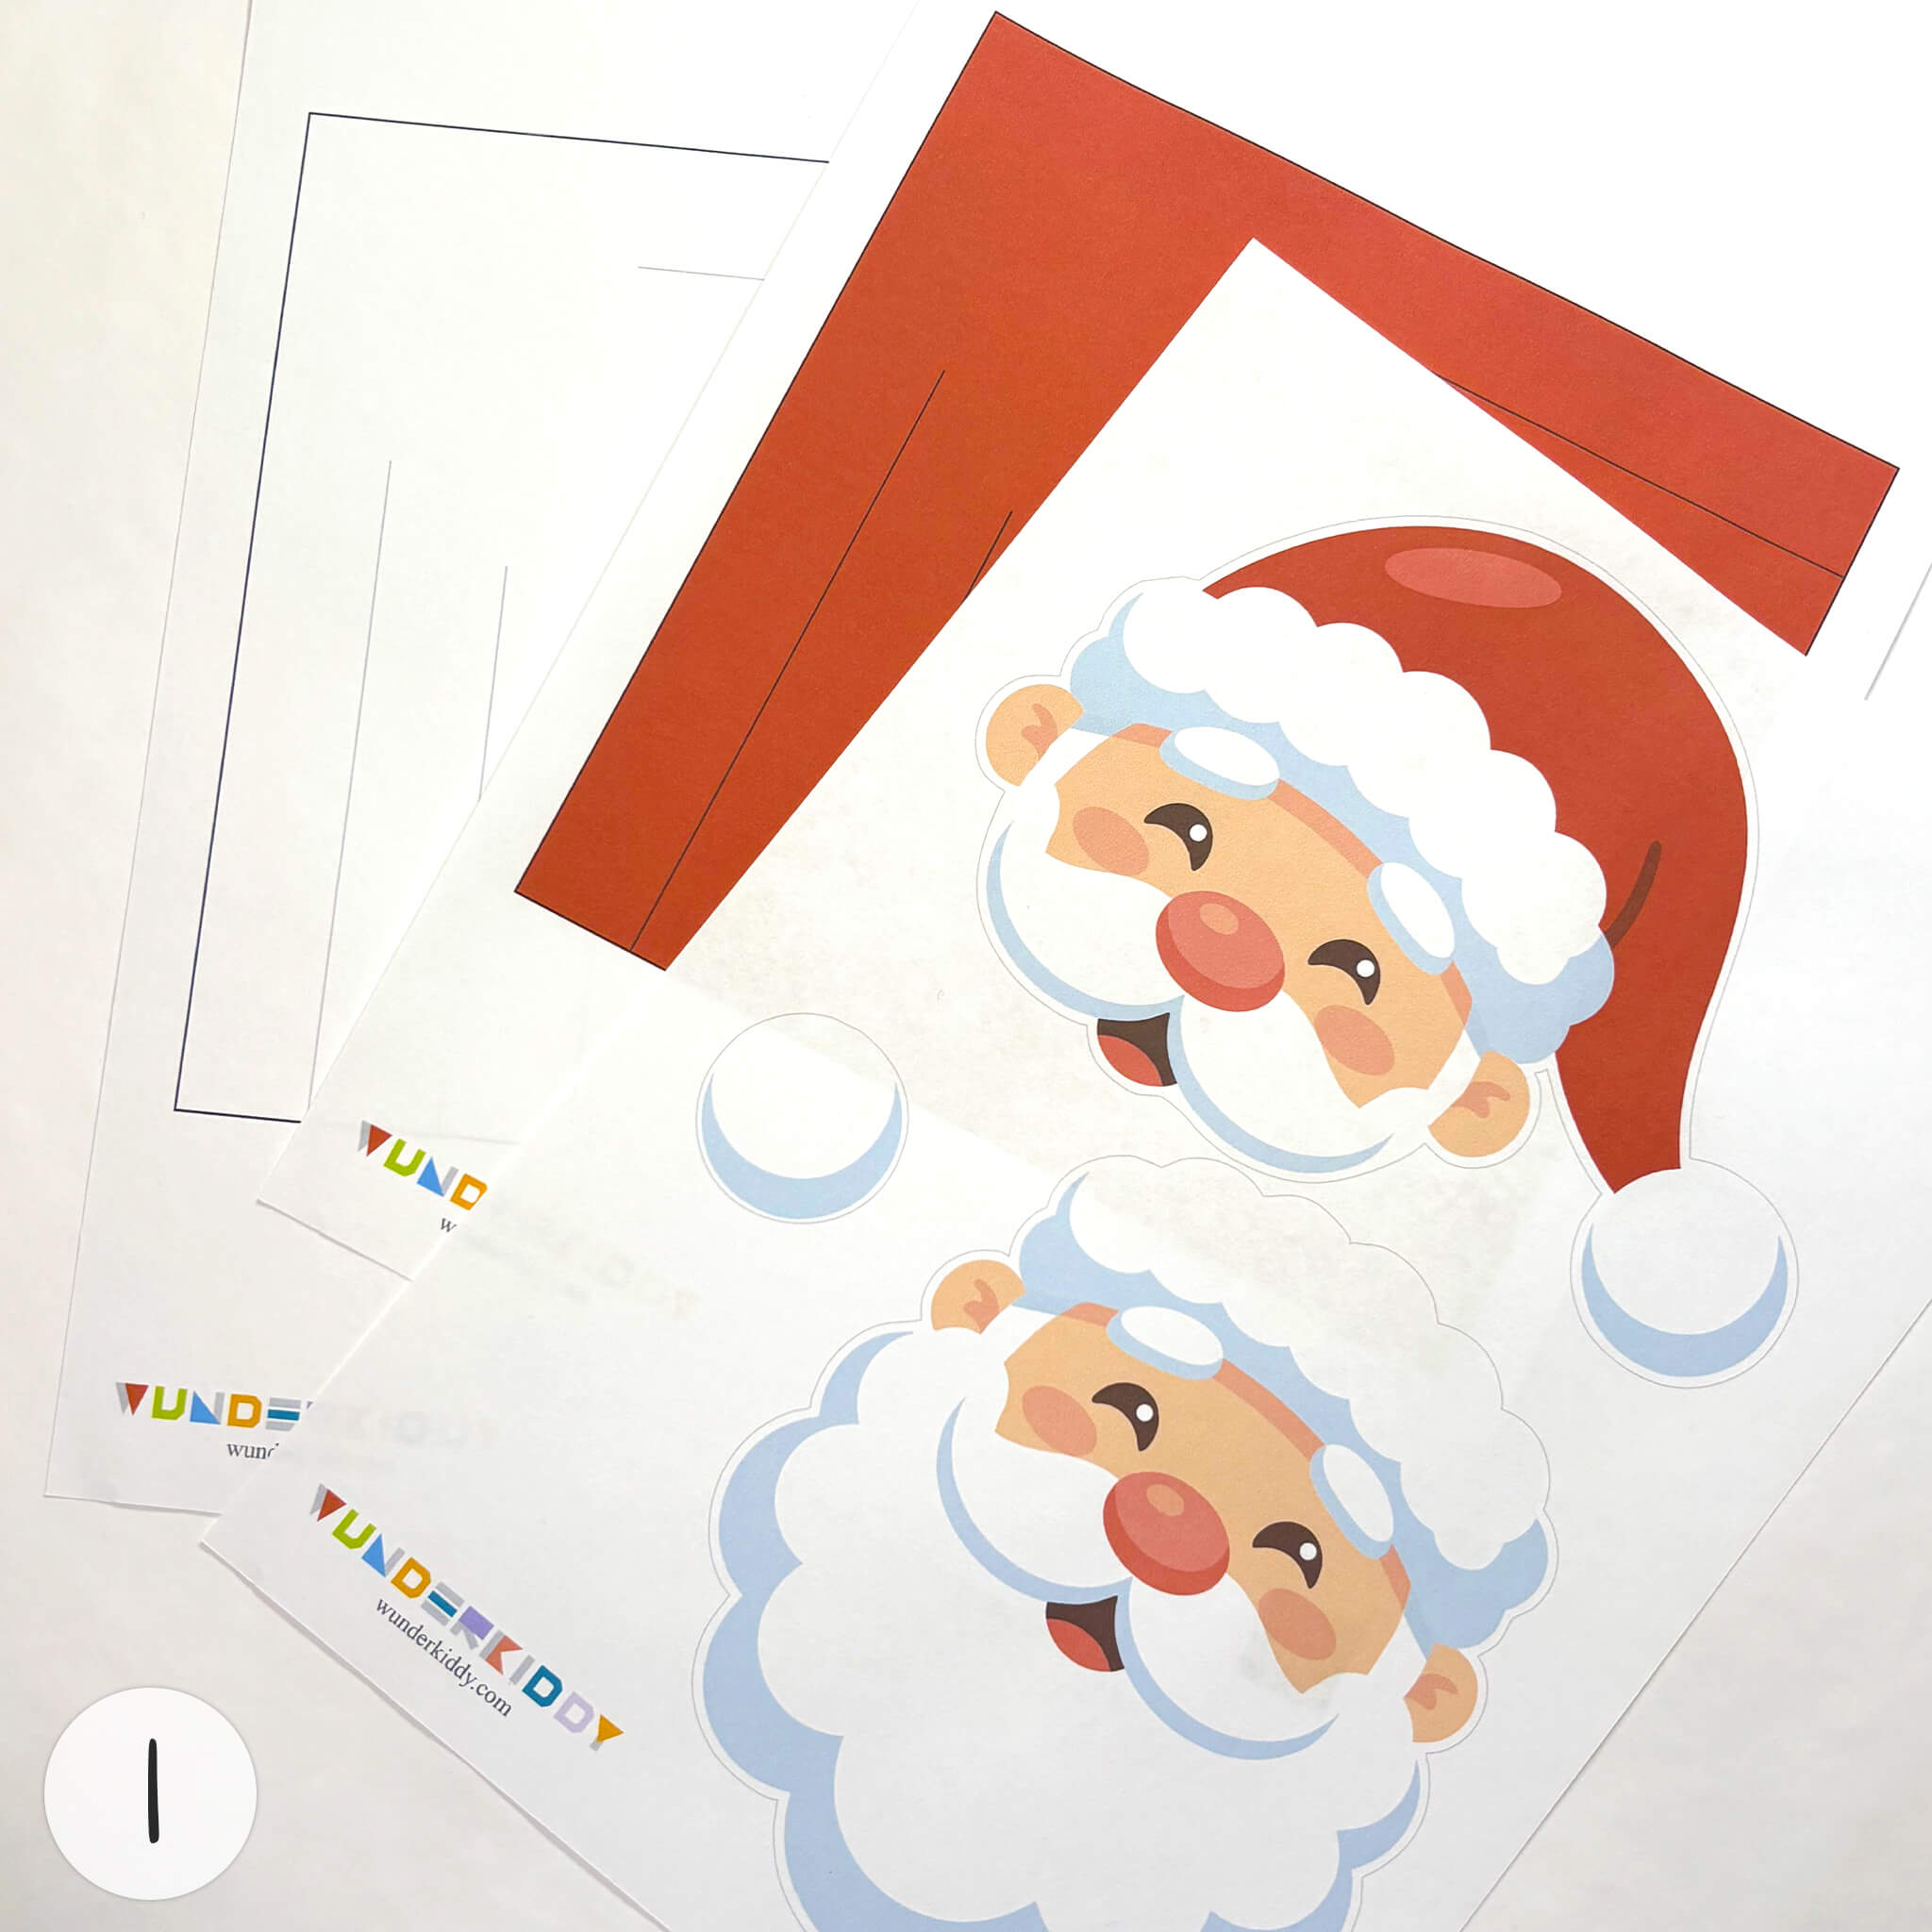
Print three pages of the craft template. Santa's faces on thick white paper, and the red and white squares on regular paper.
2
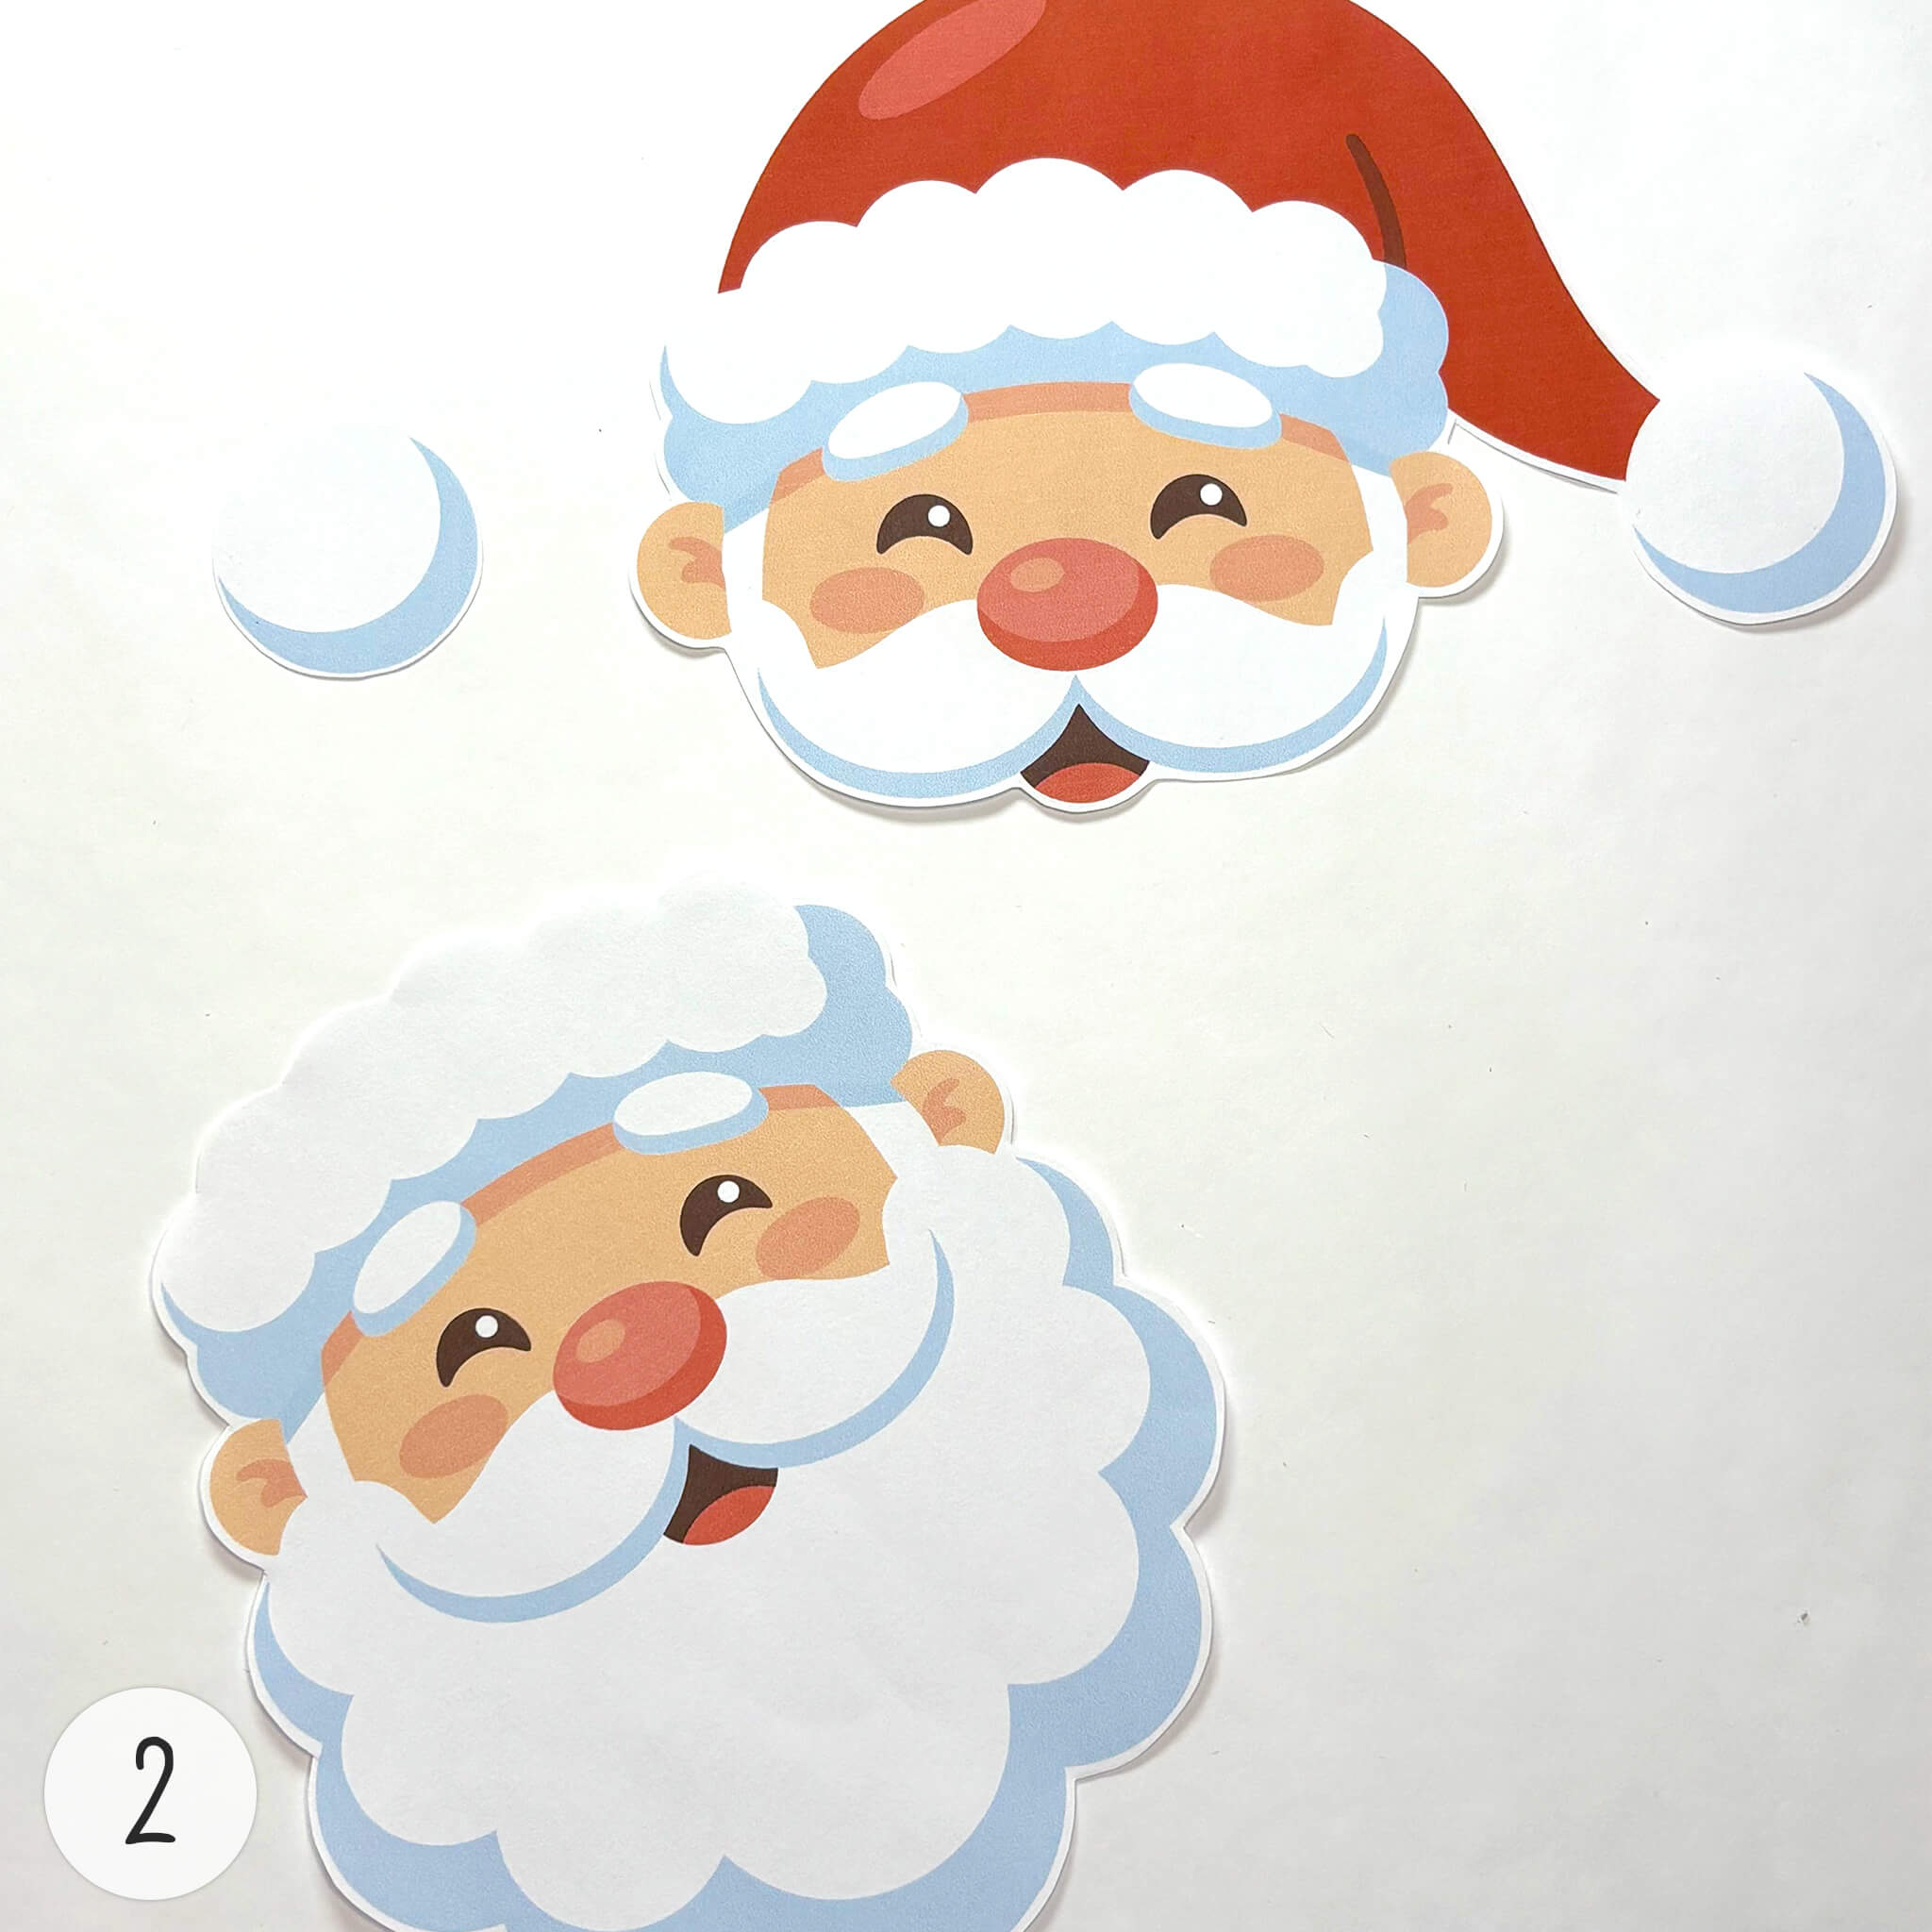
Carefully cut out both heads along the outline: one with a red hat and without beard and the other with a beard but without a hat. Also cut out the white, round pom-pom.
3
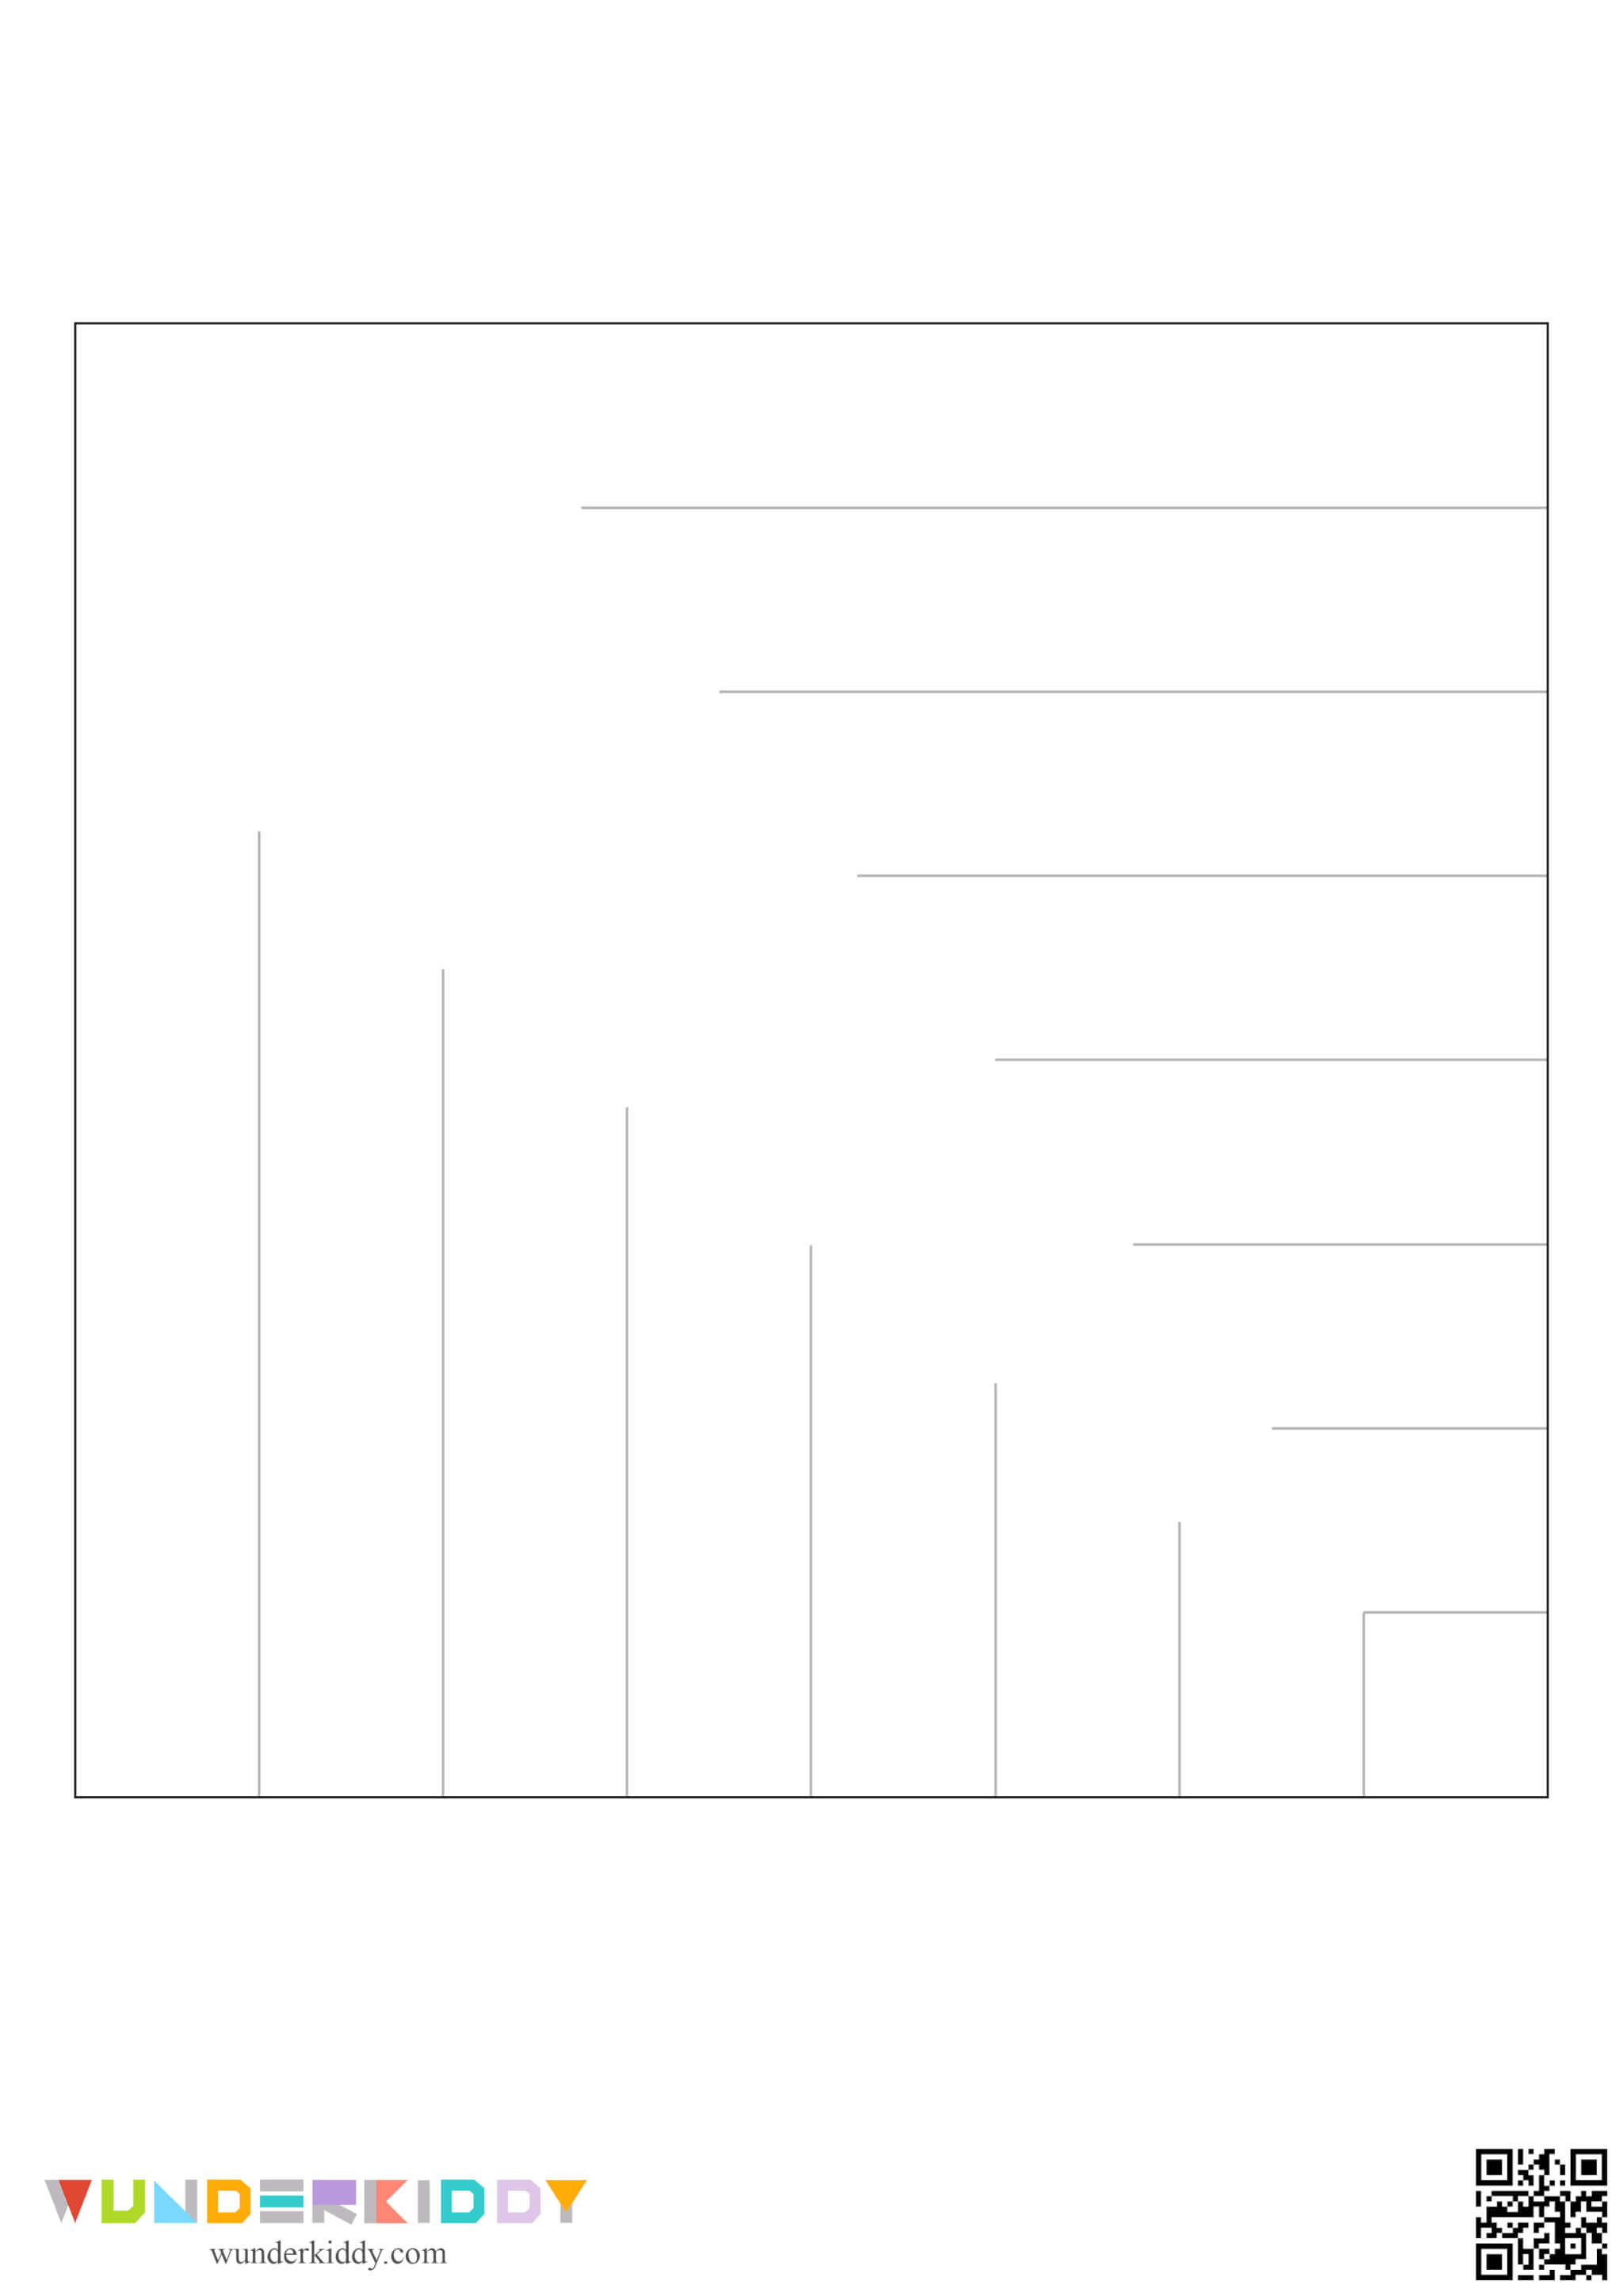
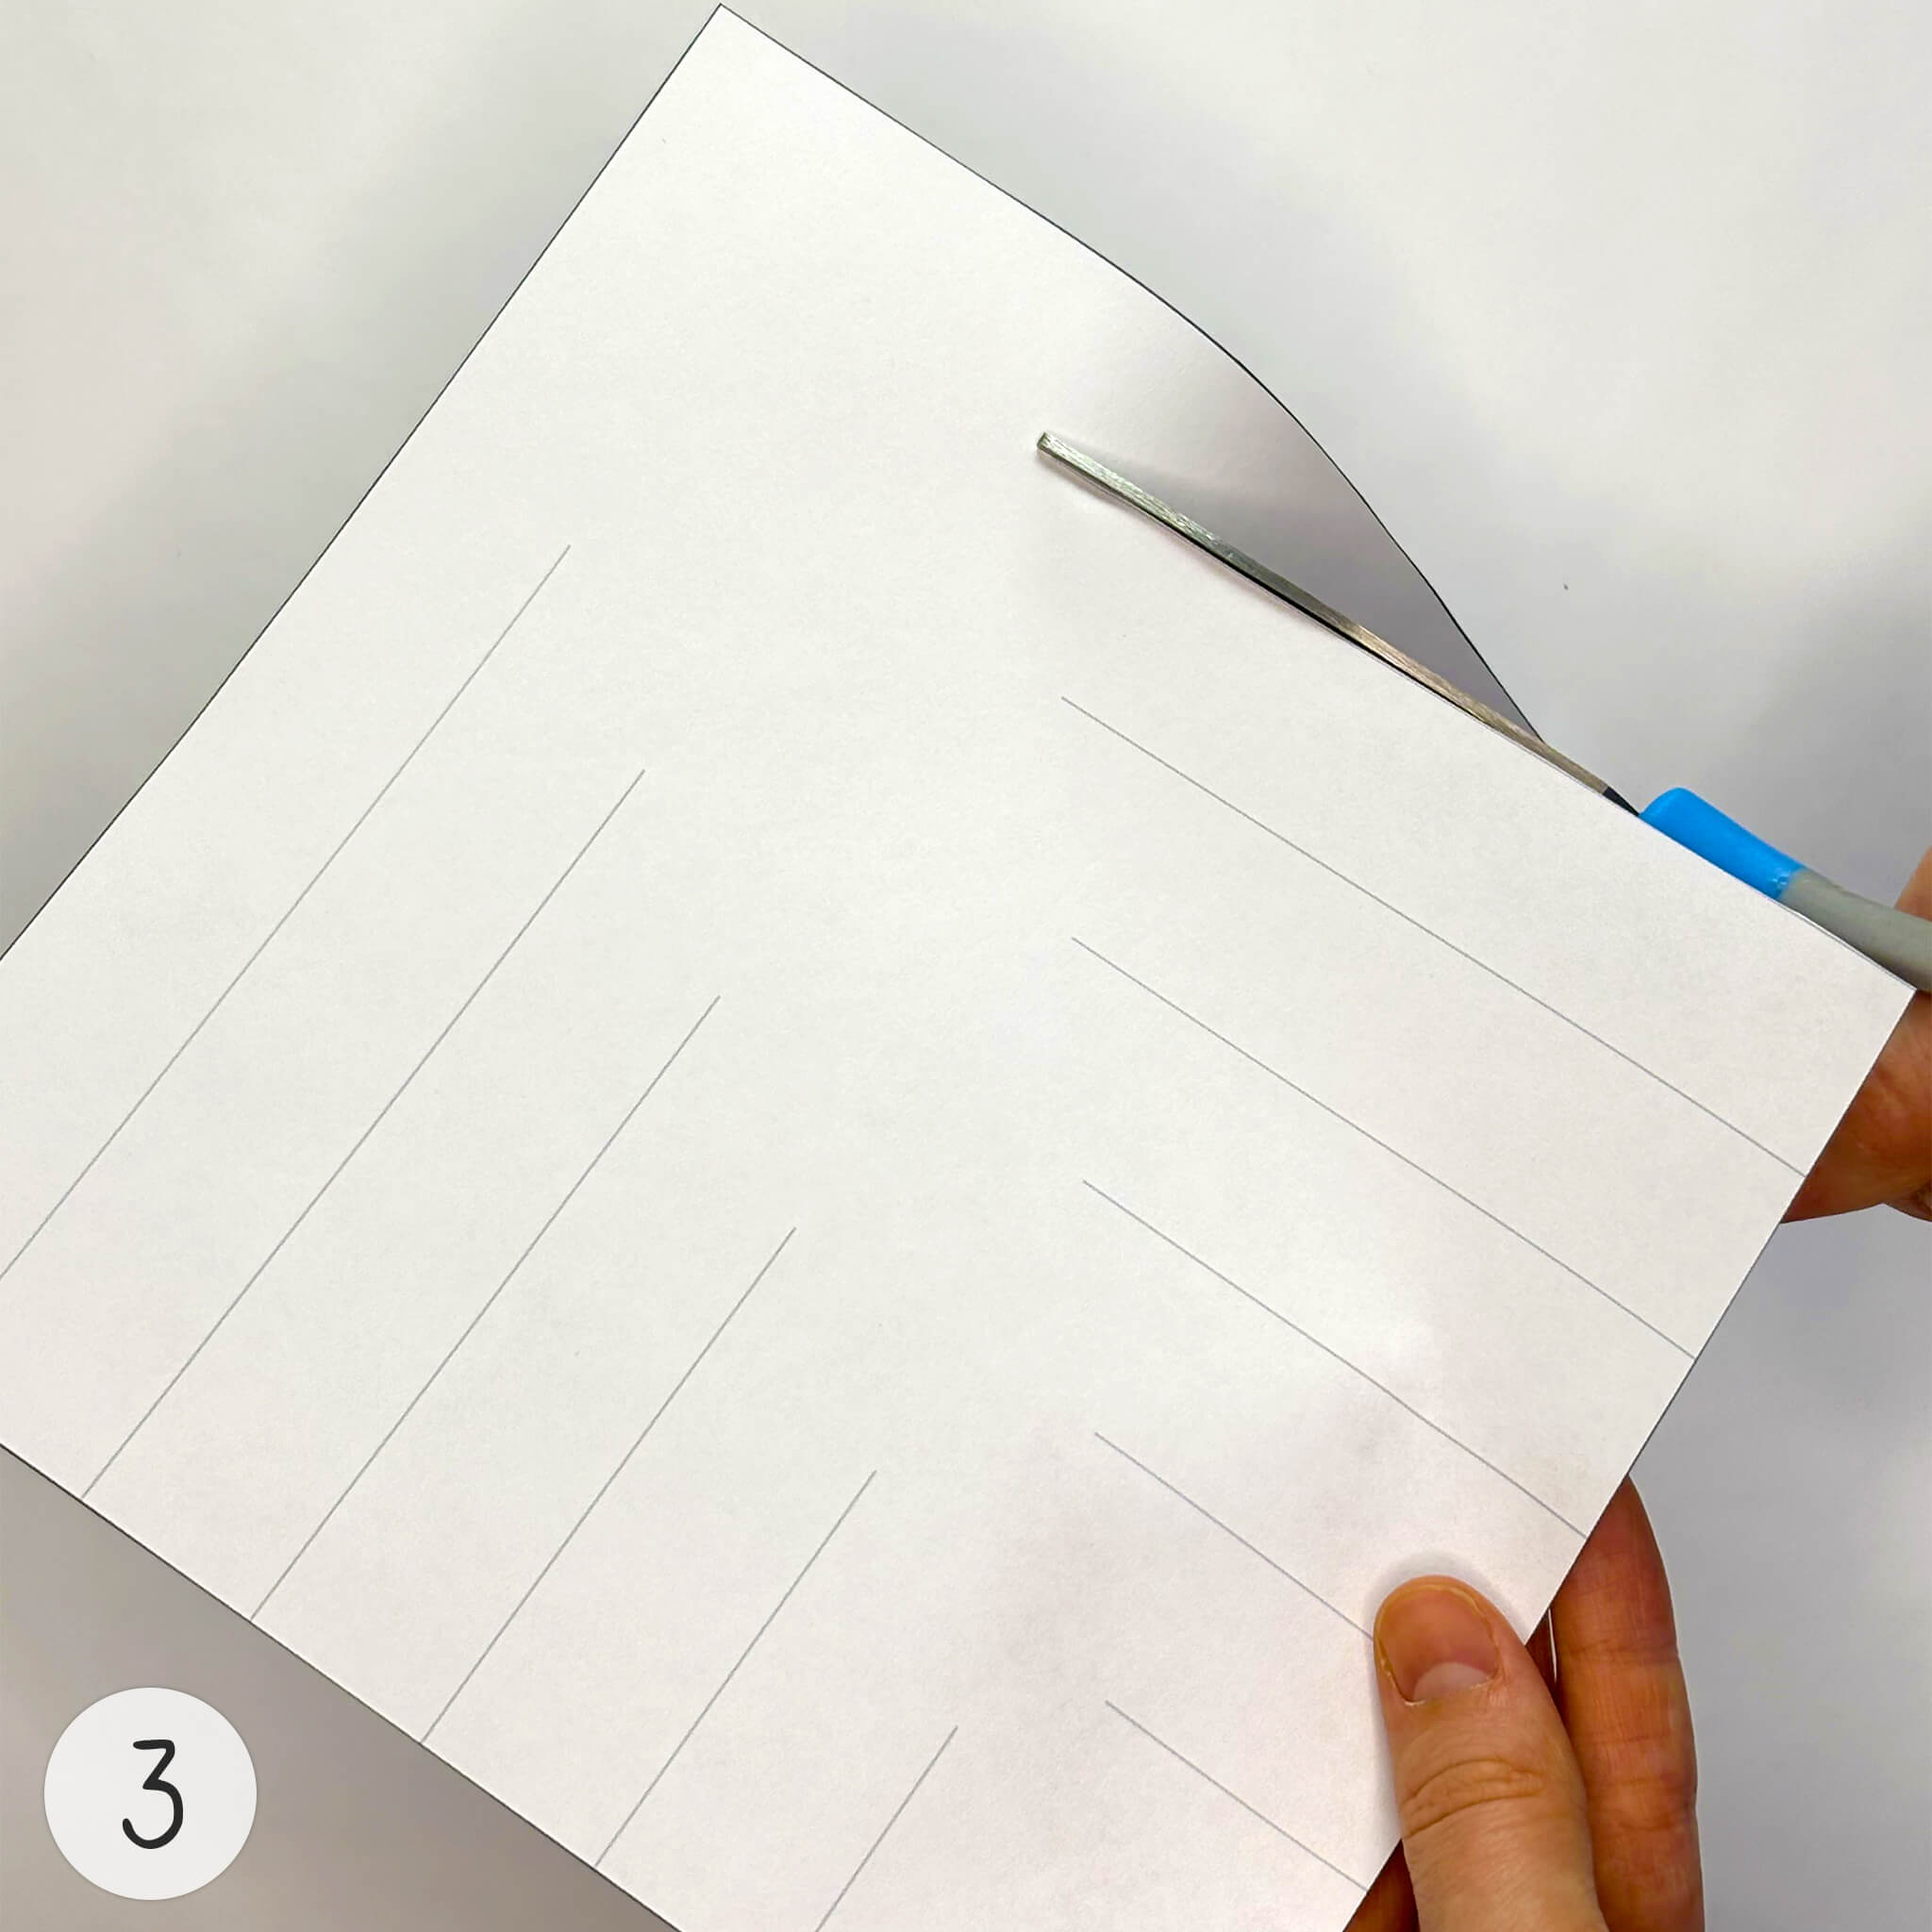
Cut out the white square along the outer outline. Then, use scissors to cut along the inner marking lines.
4
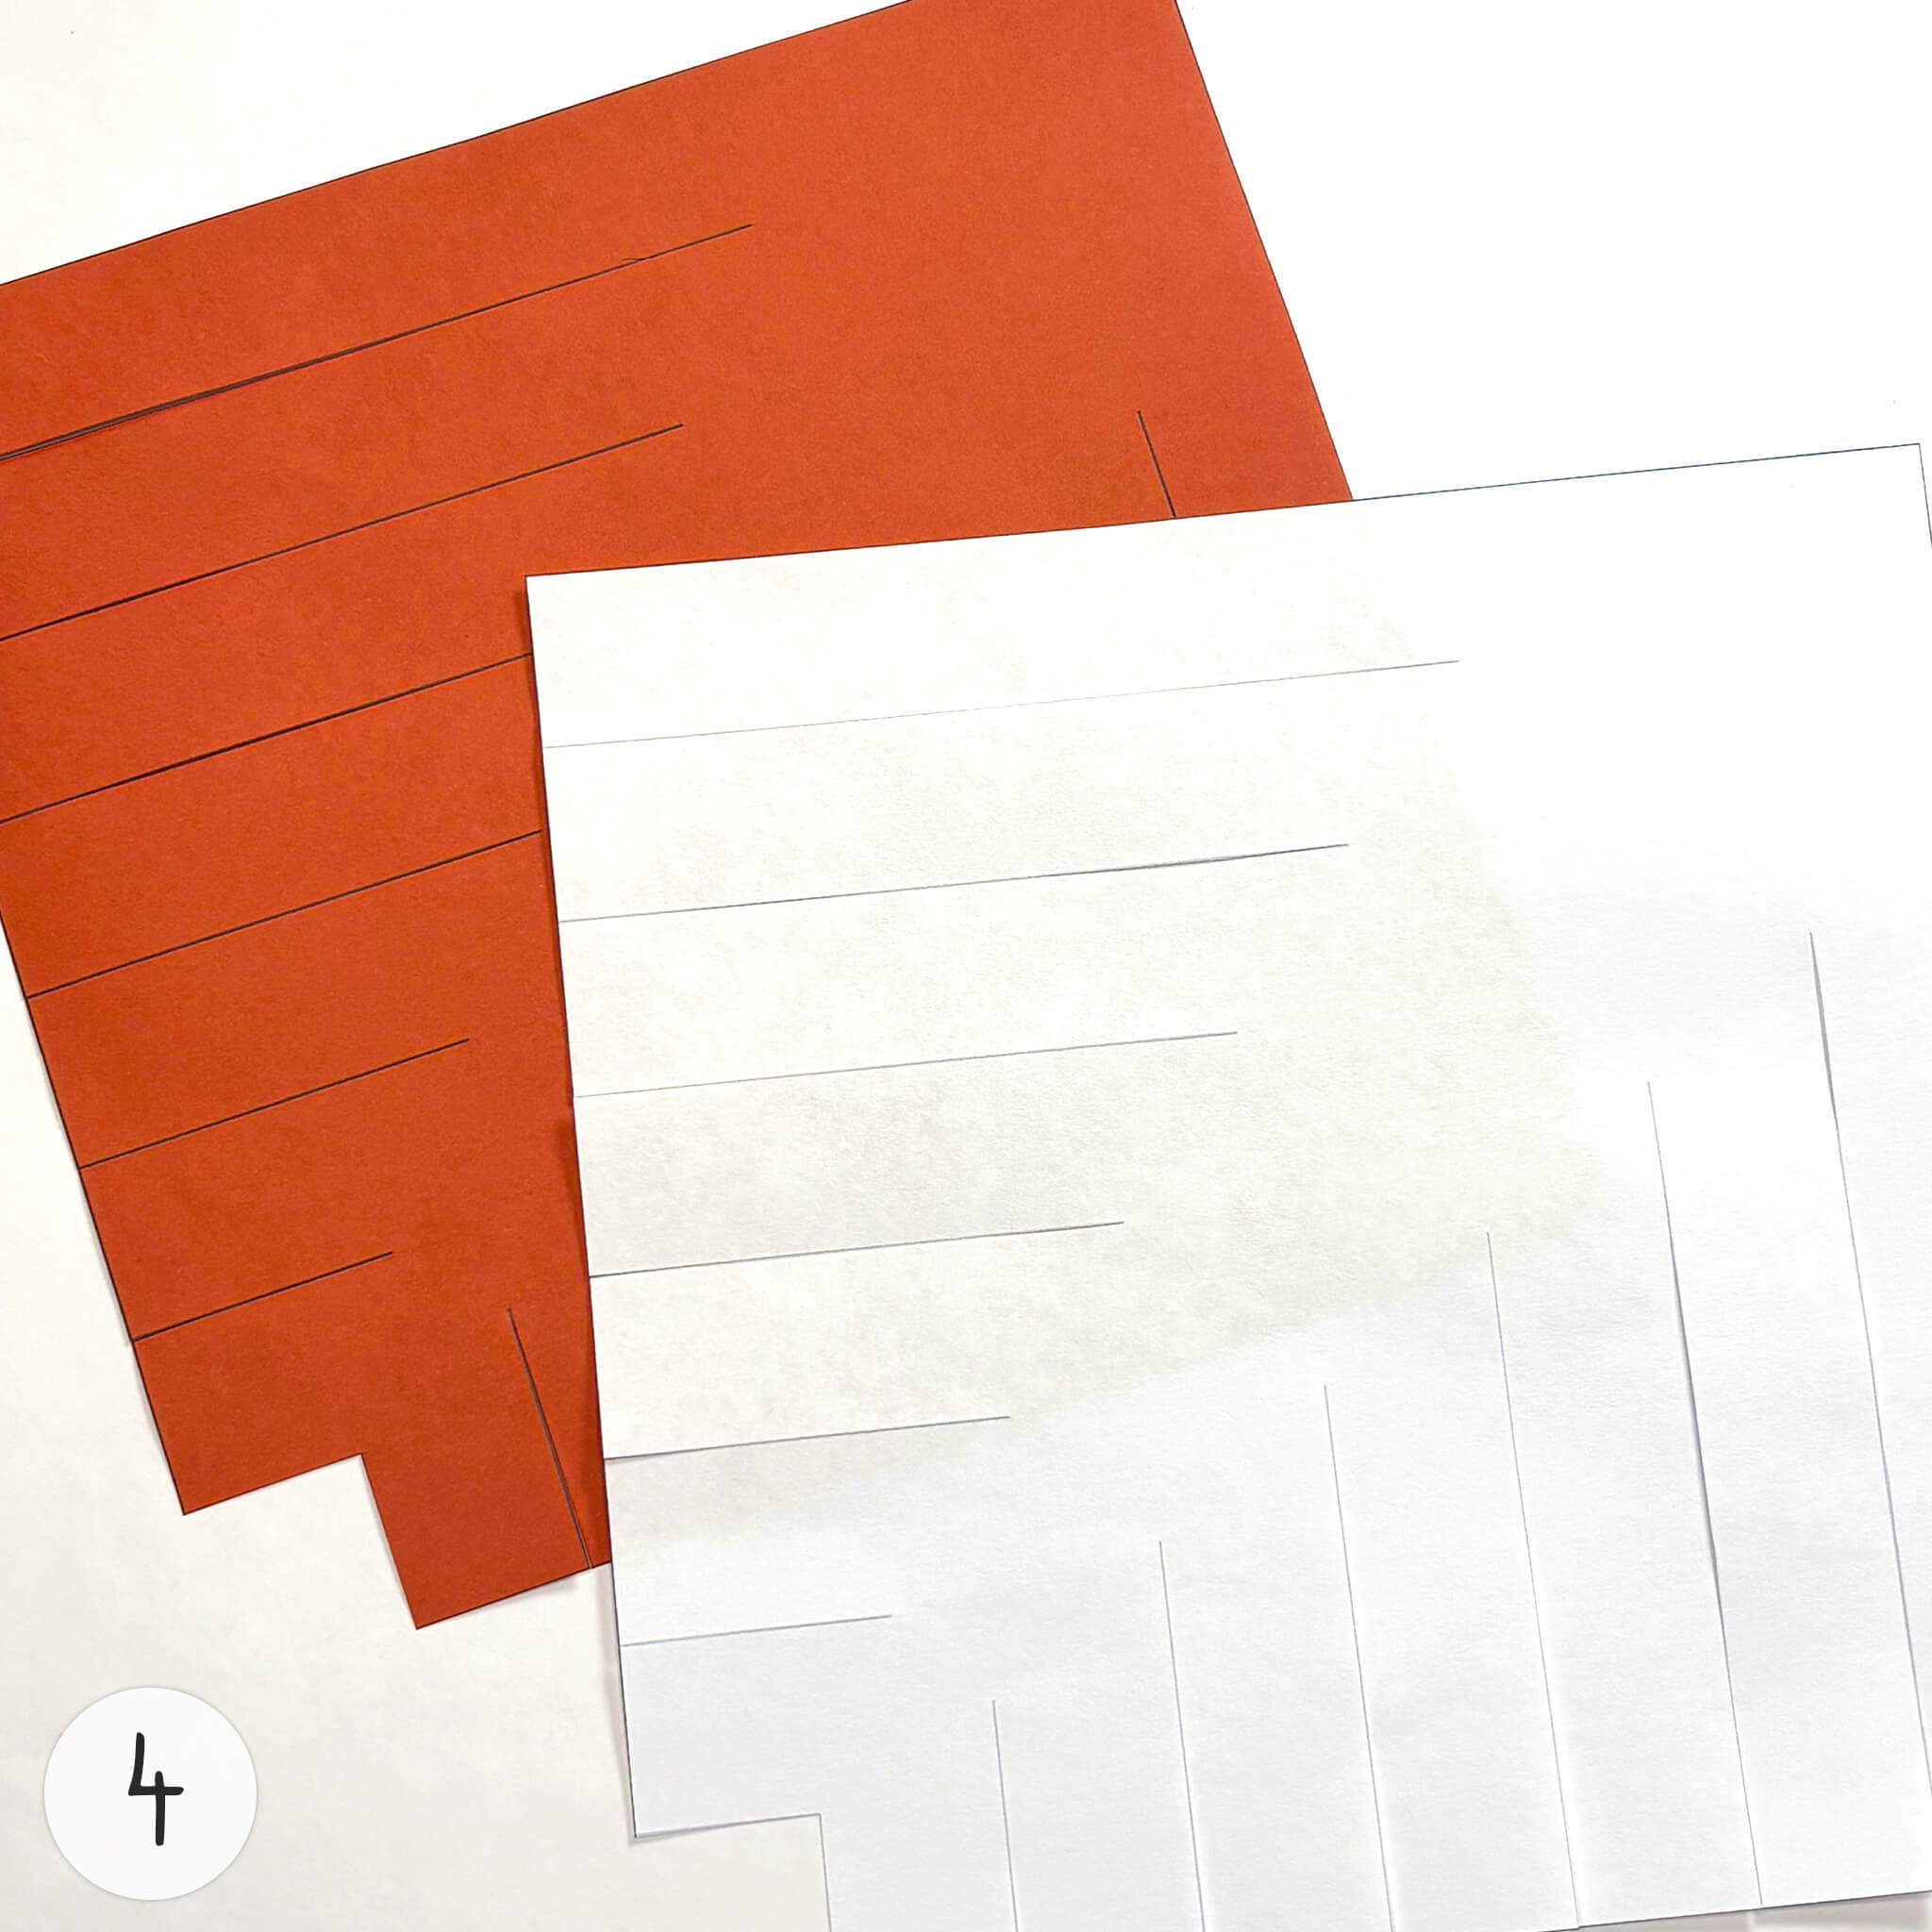
Repeat the same procedure for the red square. Both squares should have symmetrical cuts on two adjacent sides.
5
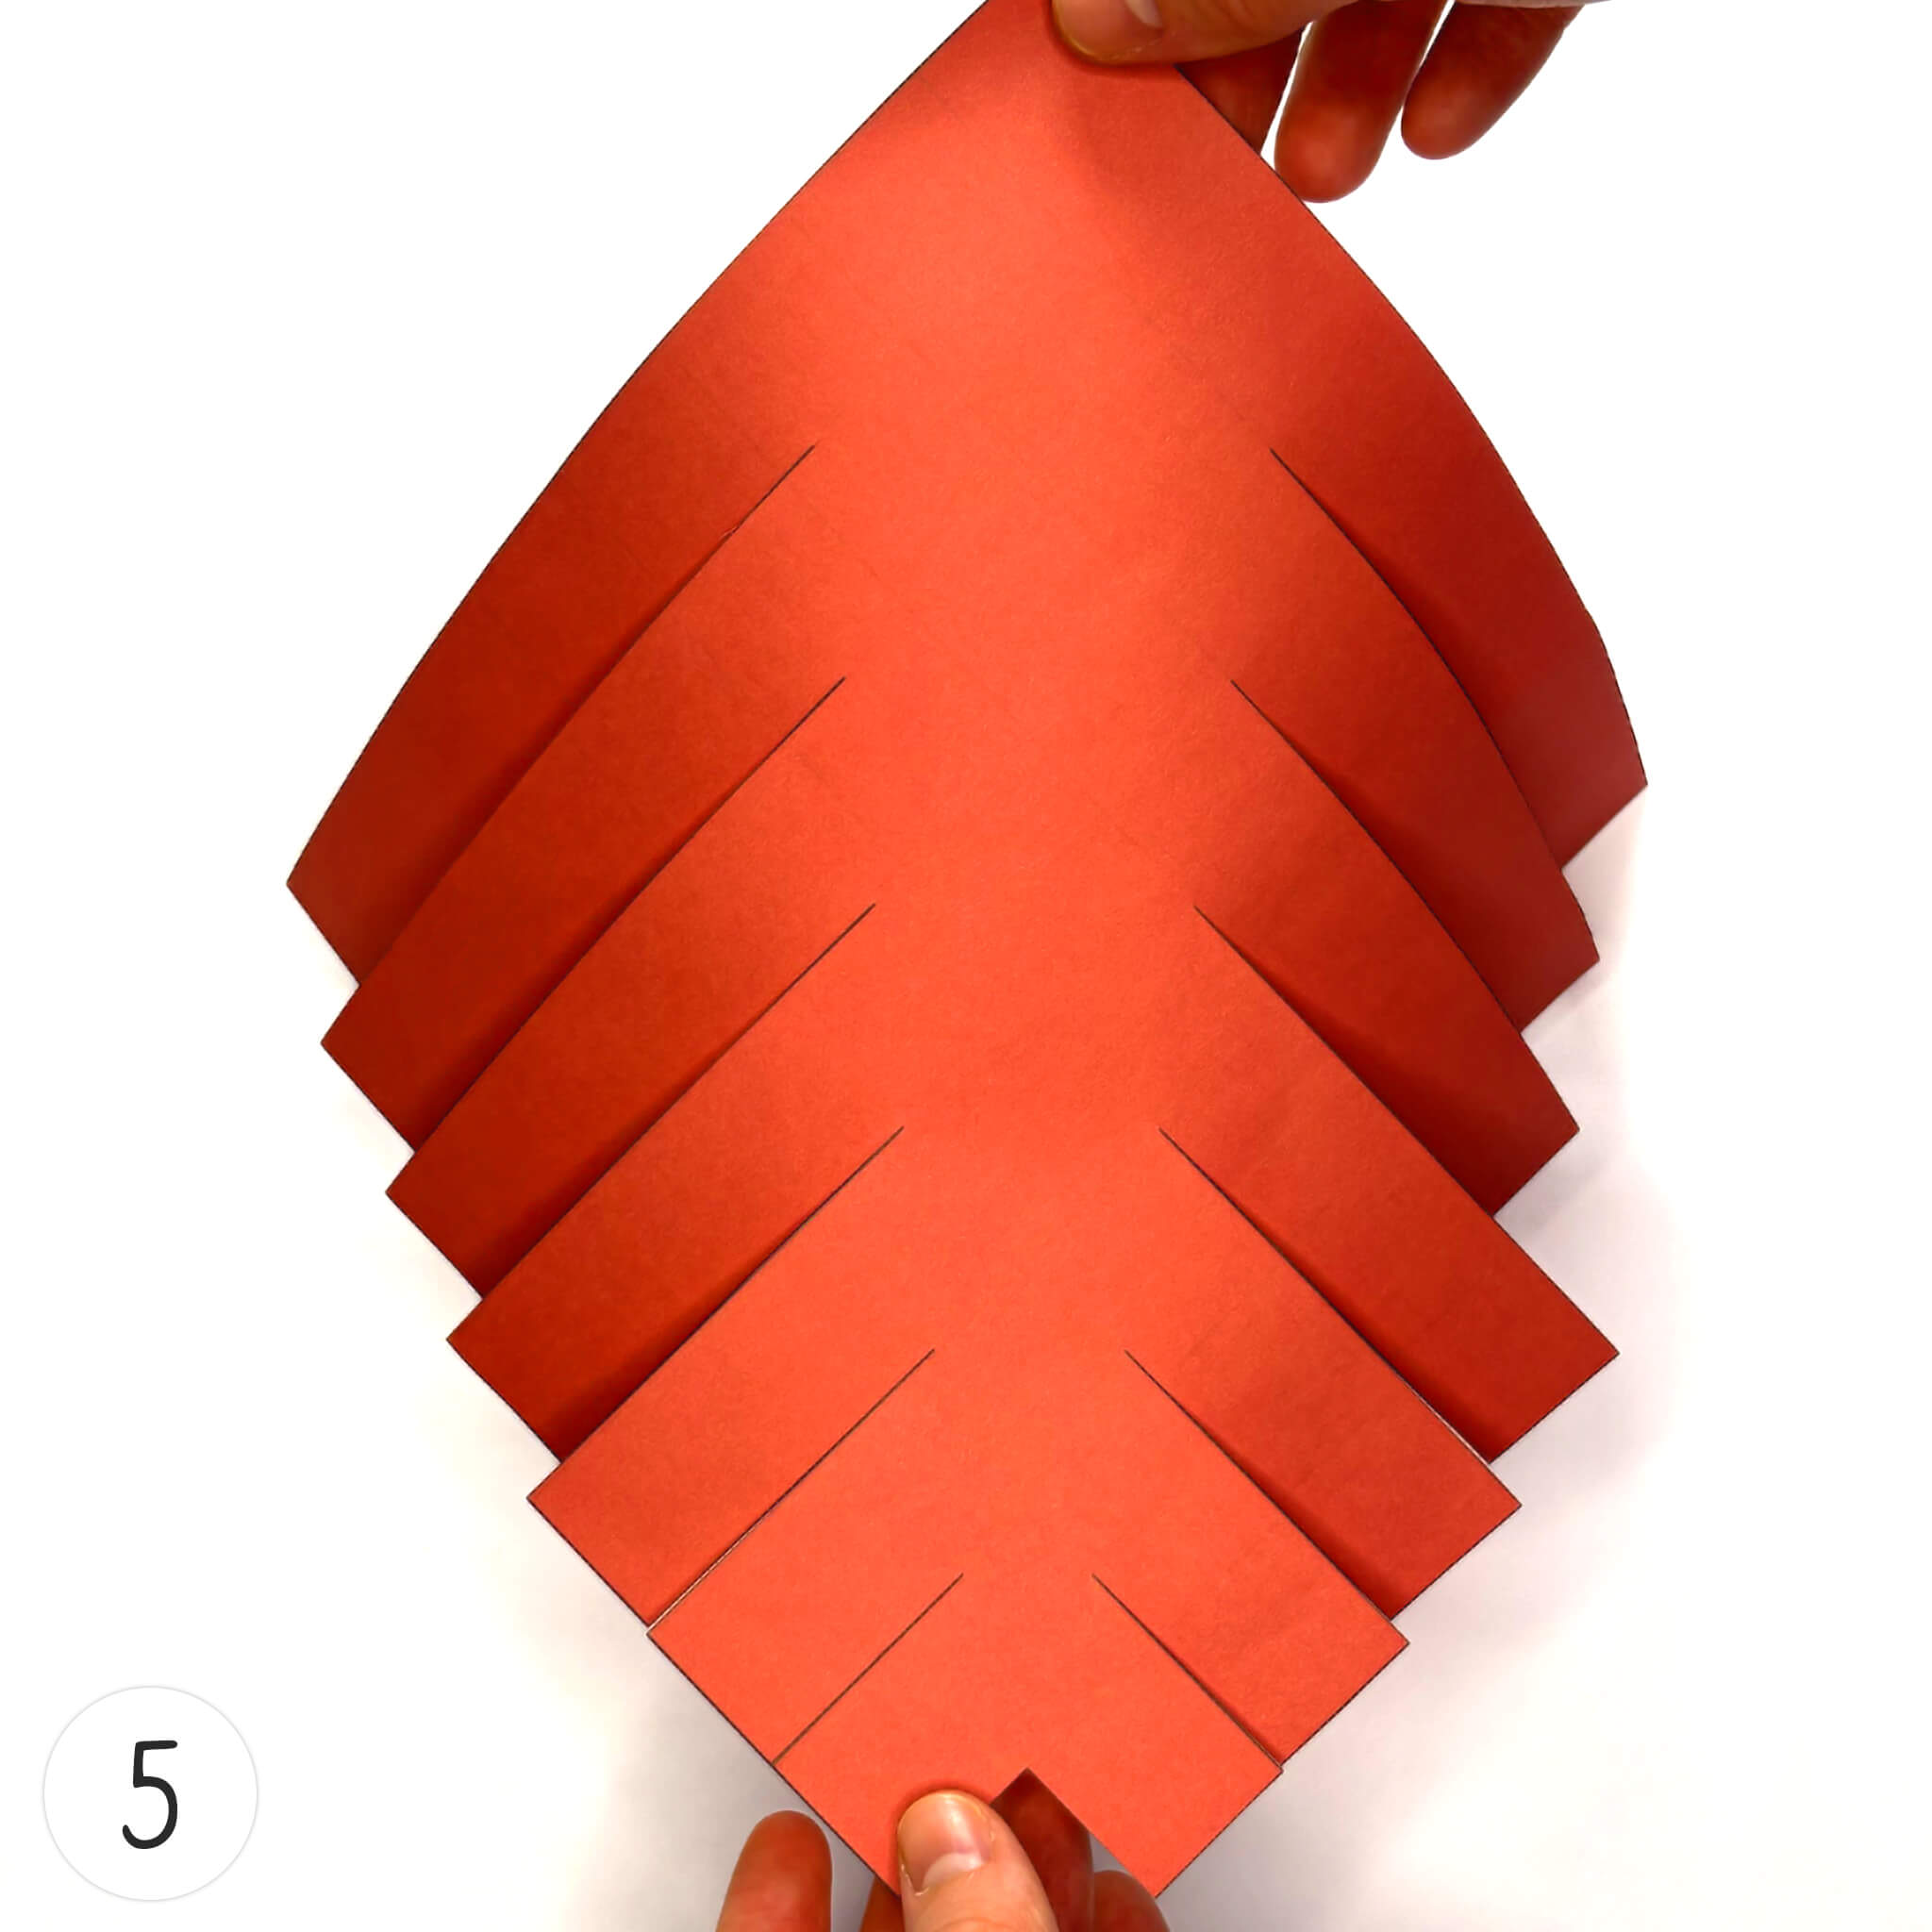
Hold the workpiece by its opposite corners to see if the strips can be easily separated along the central axis.
6
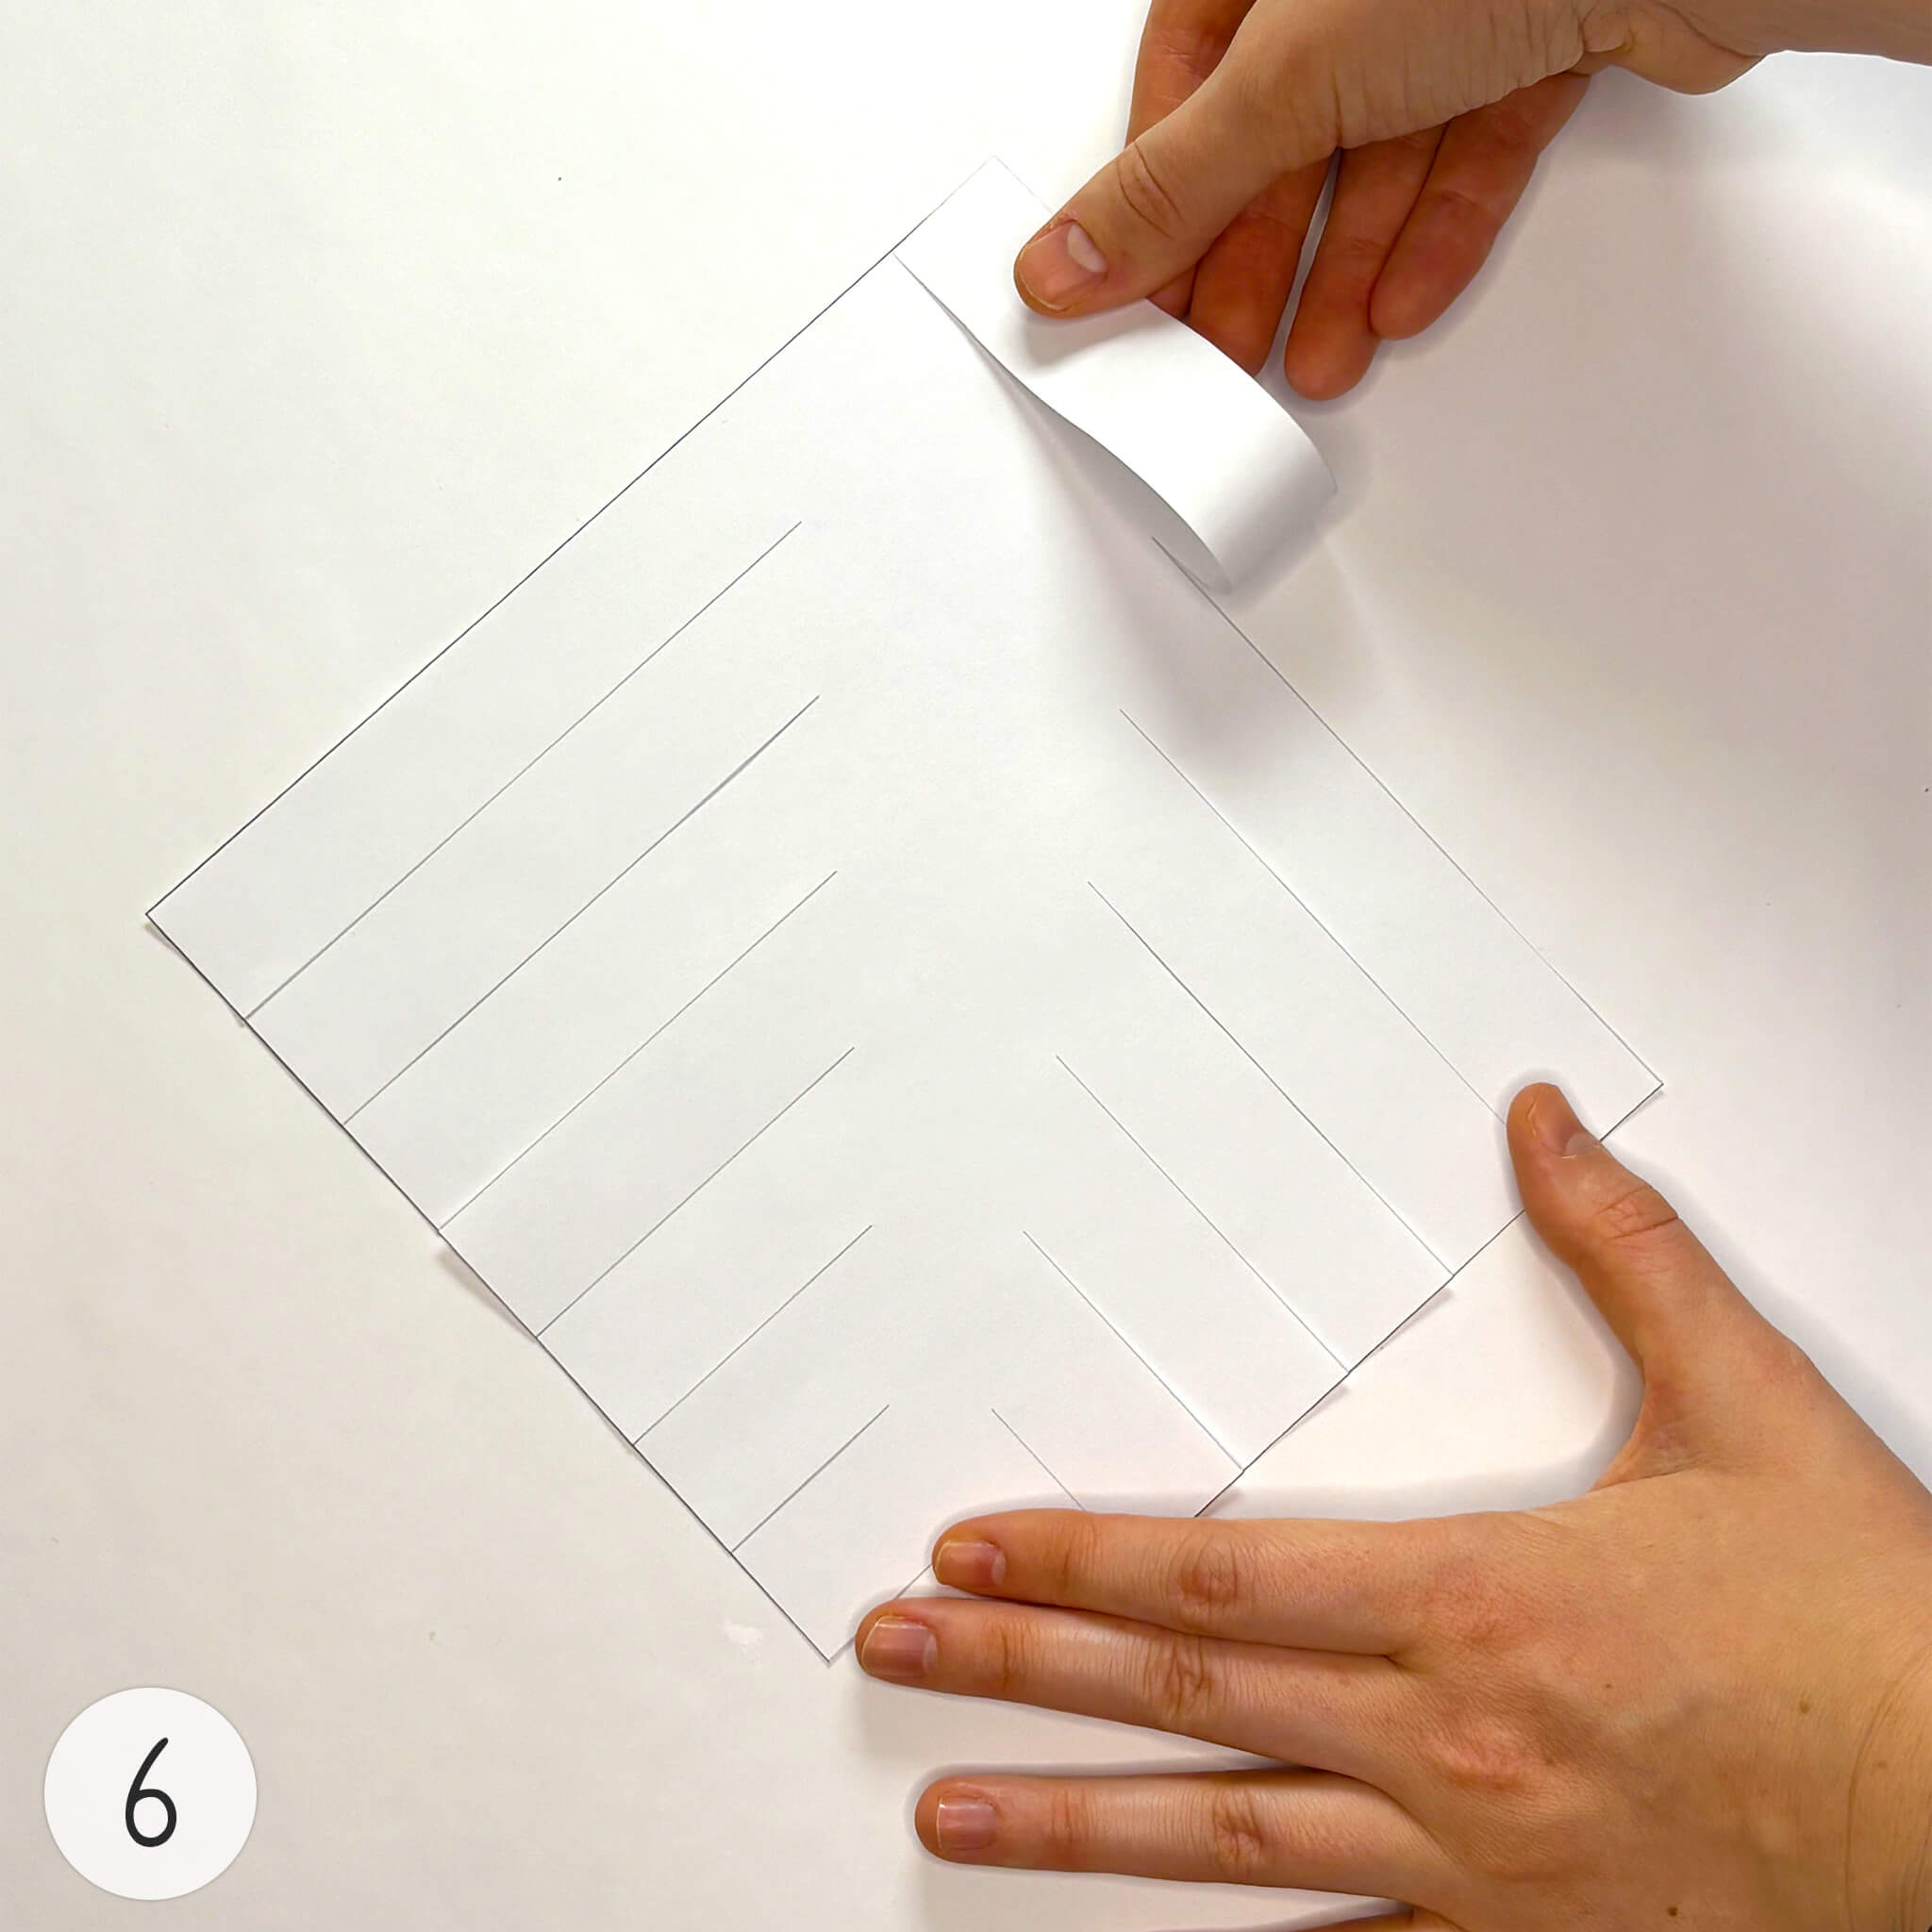
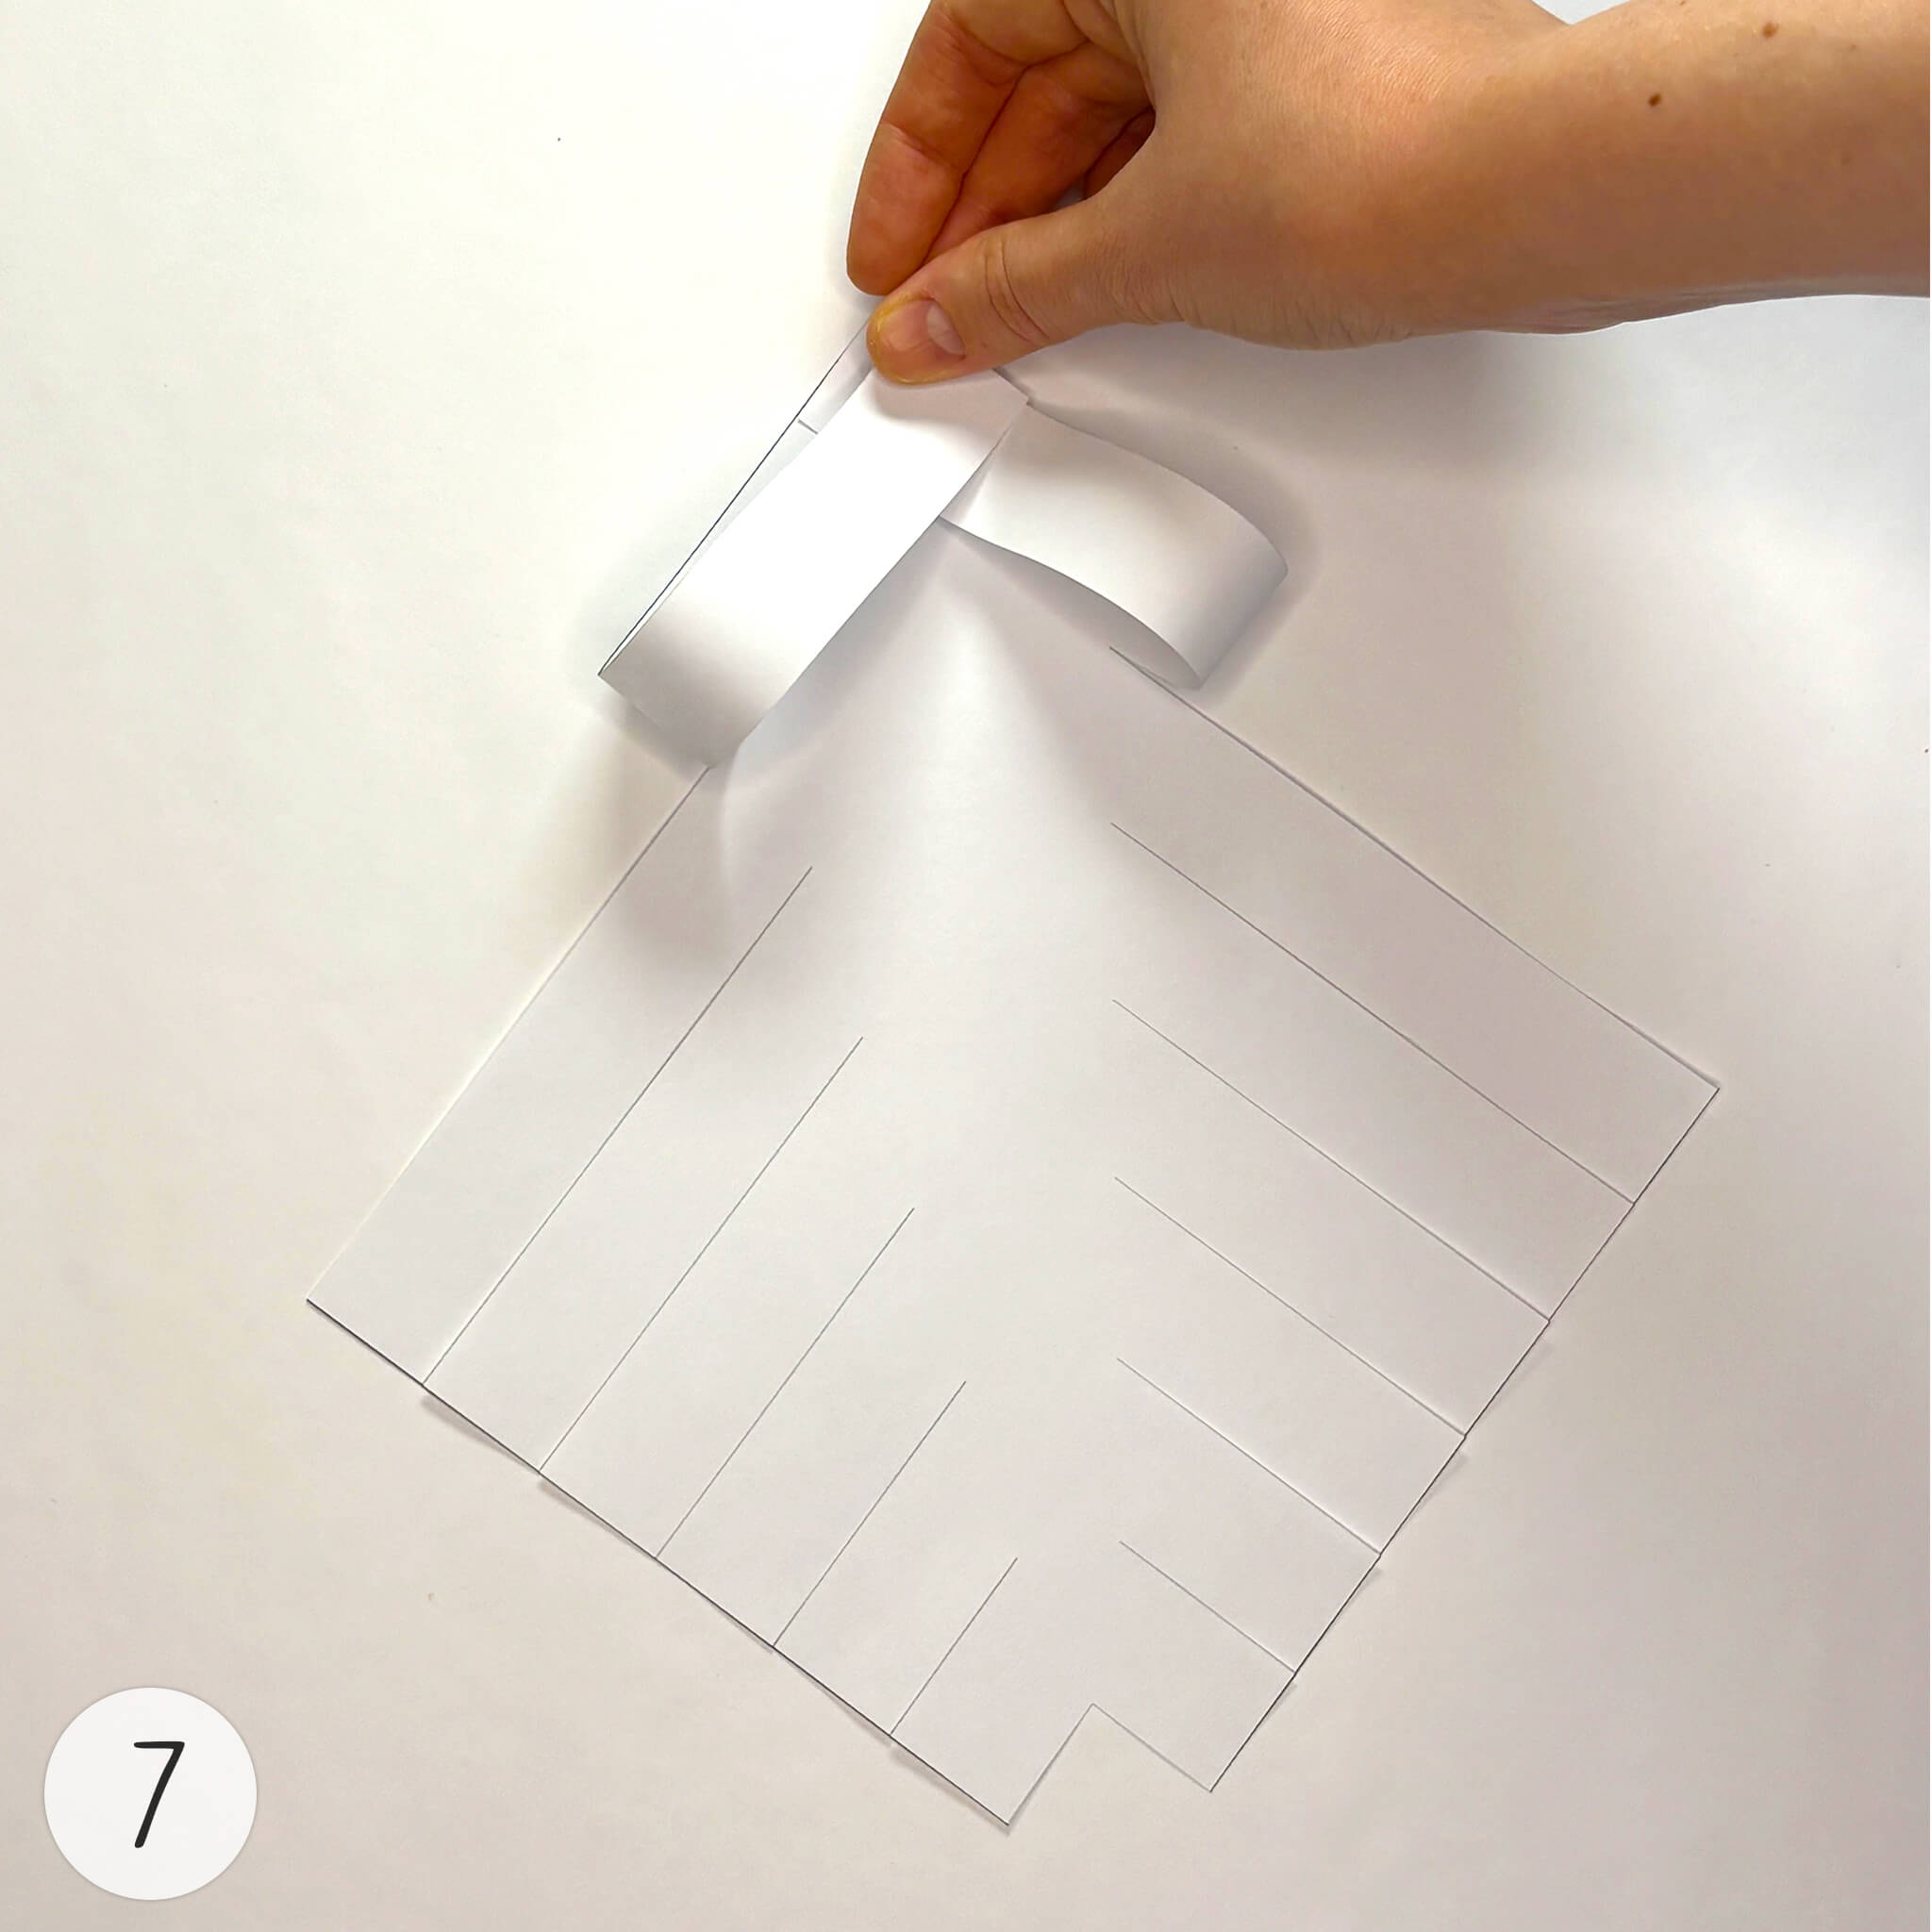
Place the white square on the table. Take the first strip from one of the corners and apply a drop of glue to its tip. Fold the strip toward the center at a 90-degree angle.
7
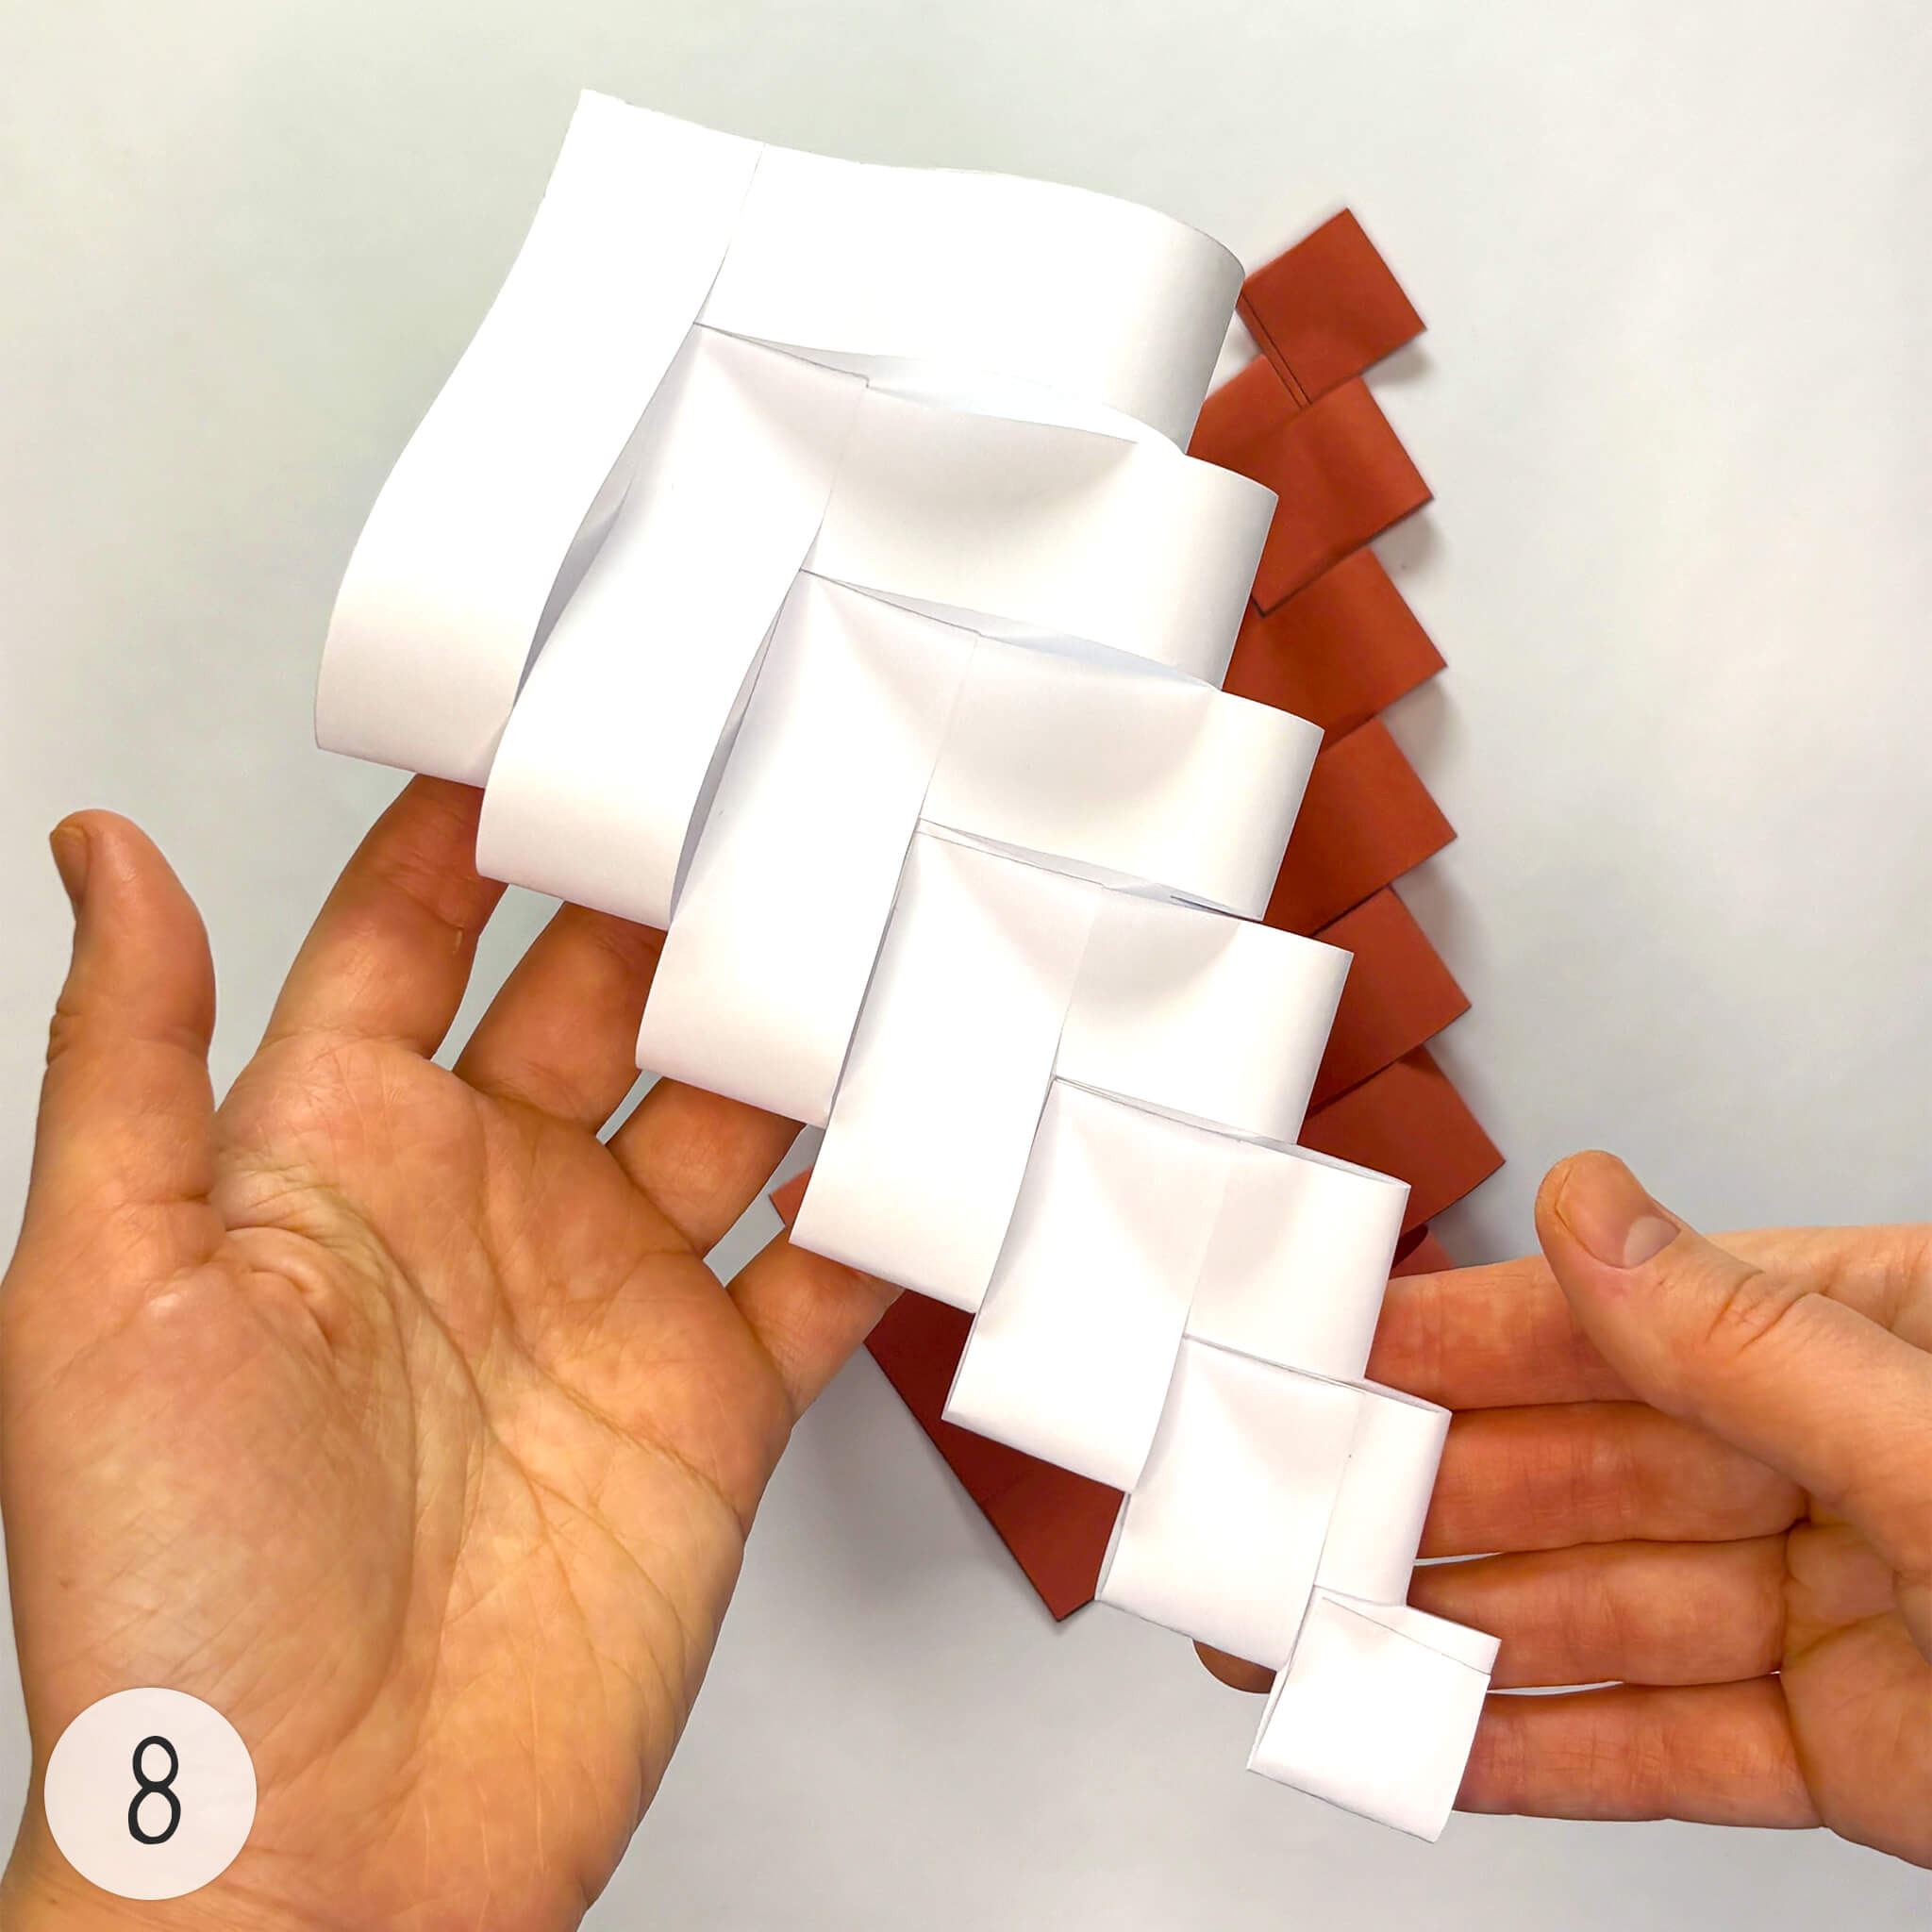
Take the first strip from the opposite side, fold it in the same way, and secure it with glue. Continue weaving the remaining strips, one by one, from top to bottom until you reach the narrowest corner.
8
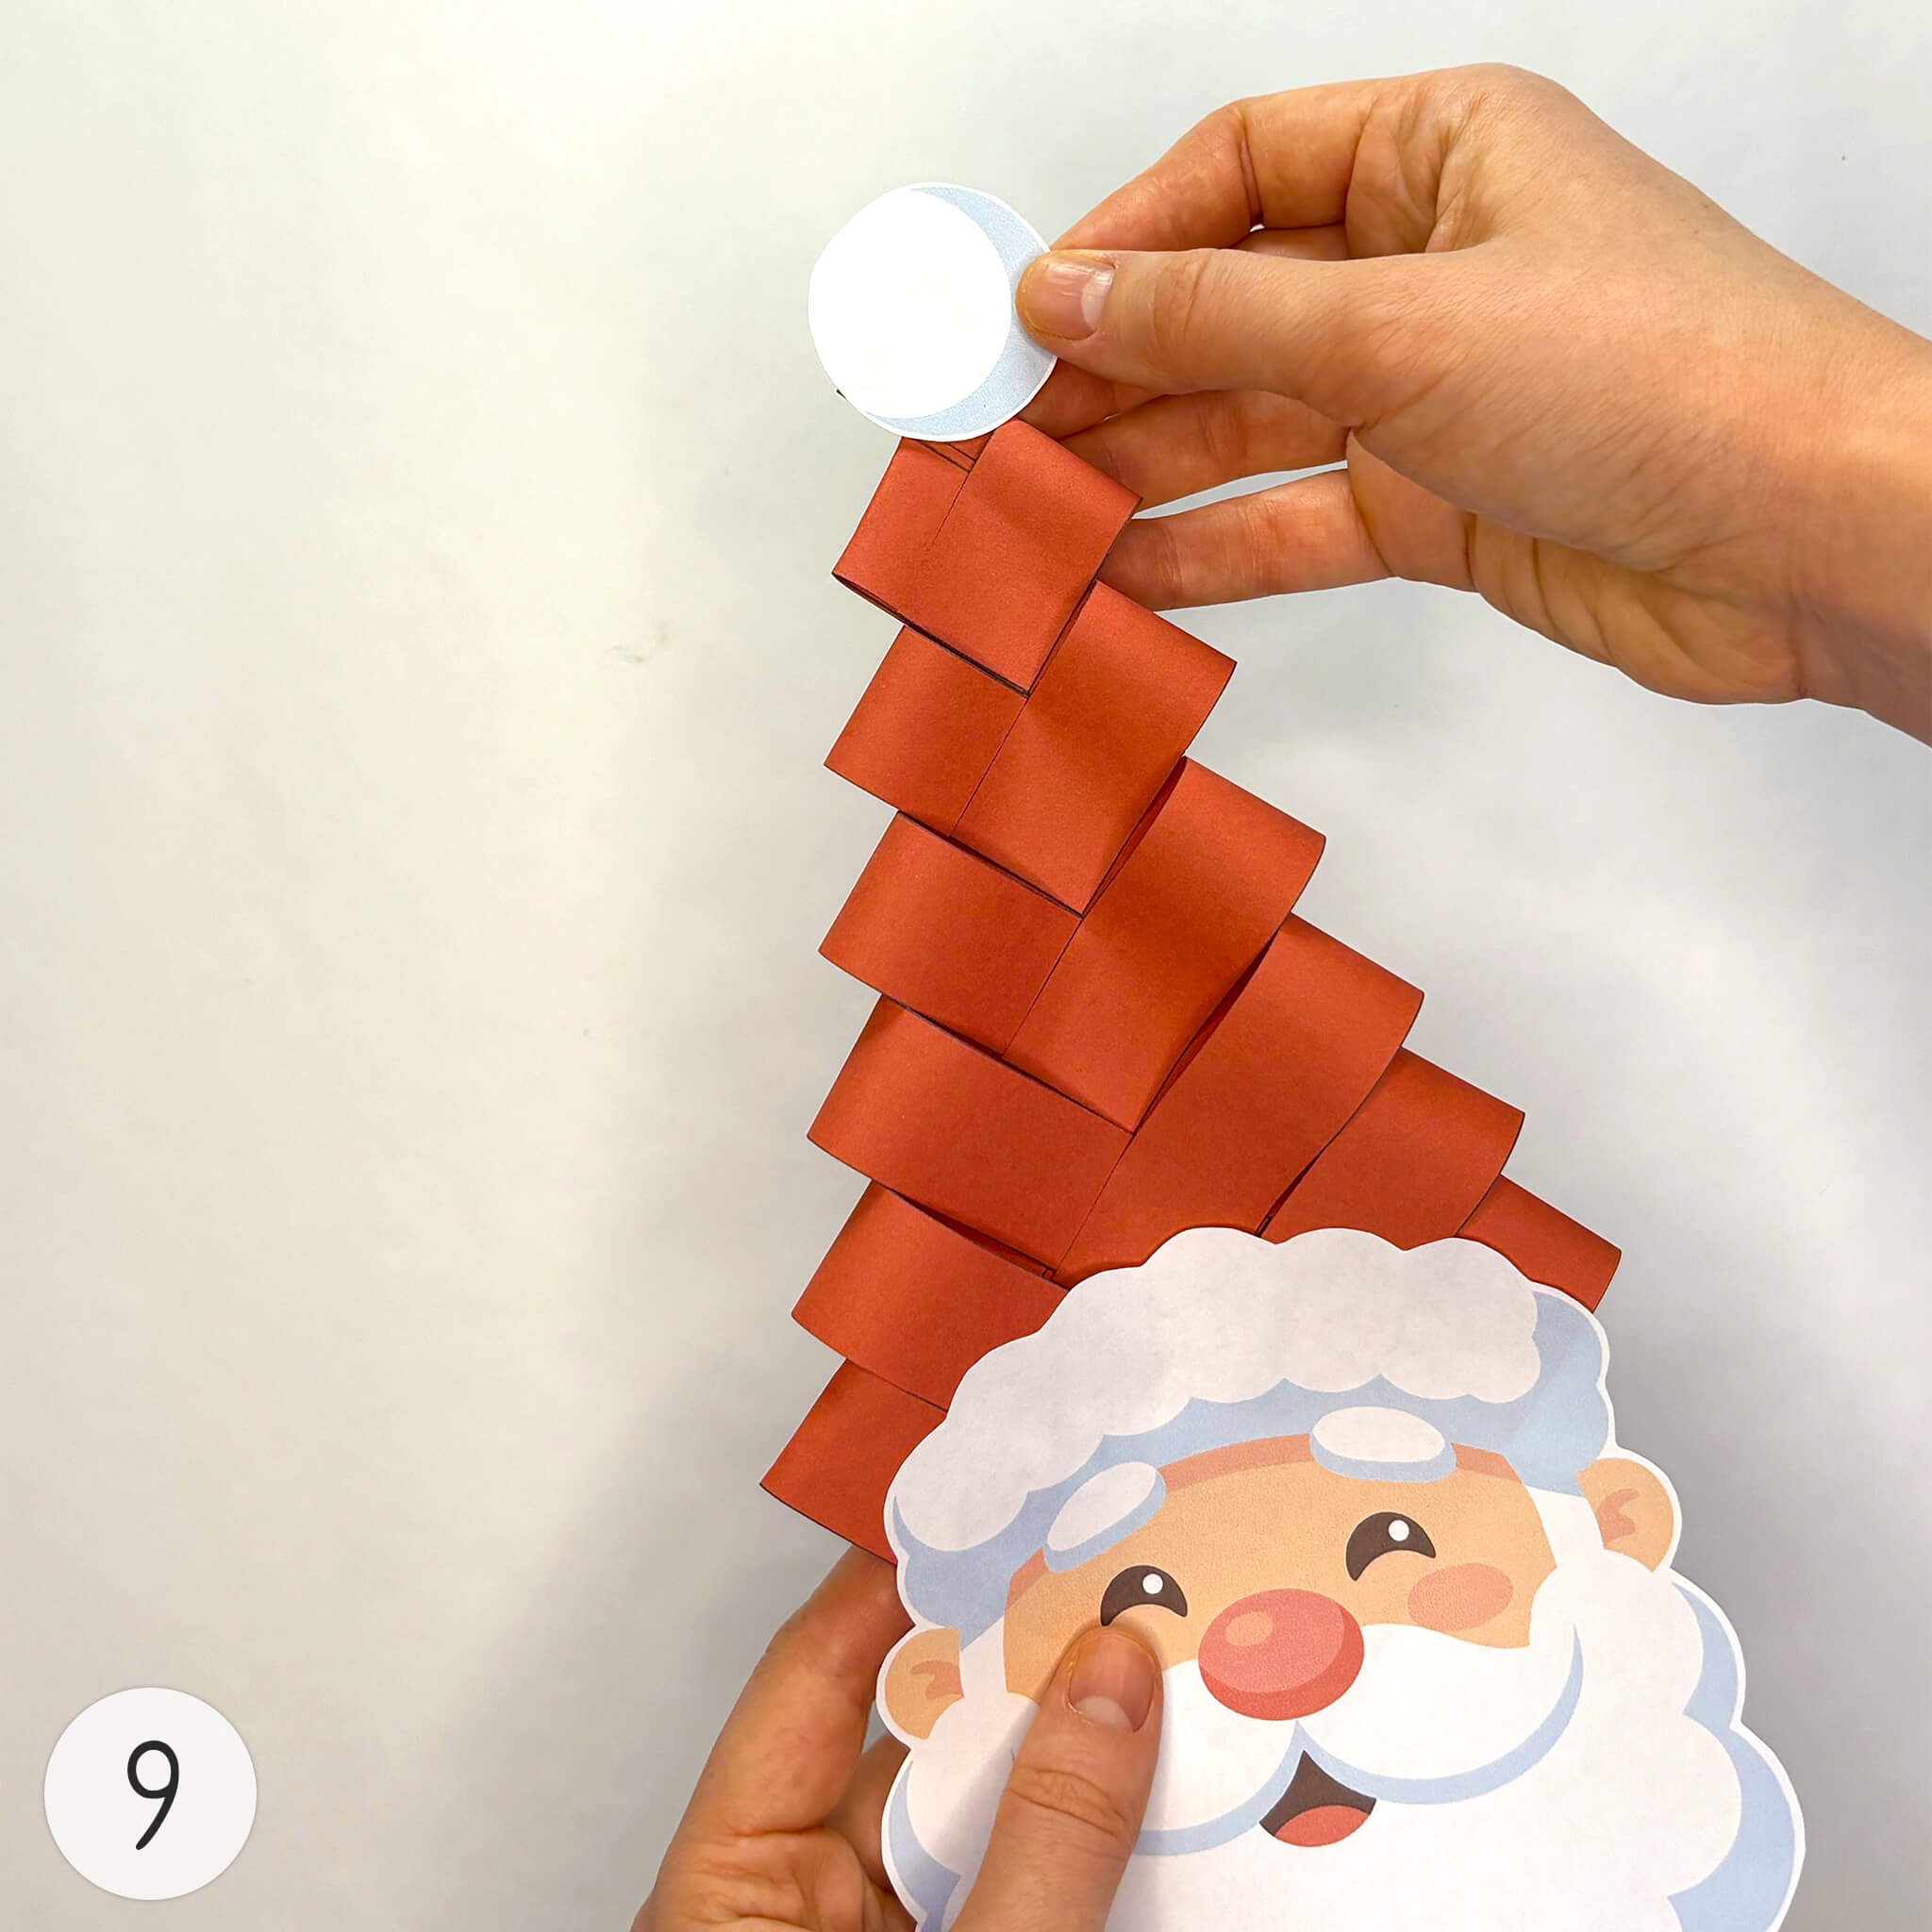
Do the same with the red square. You’ll end up with two cone-shaped pieces that look like a Christmas tree: one white for the beard and one red for the hat.
9
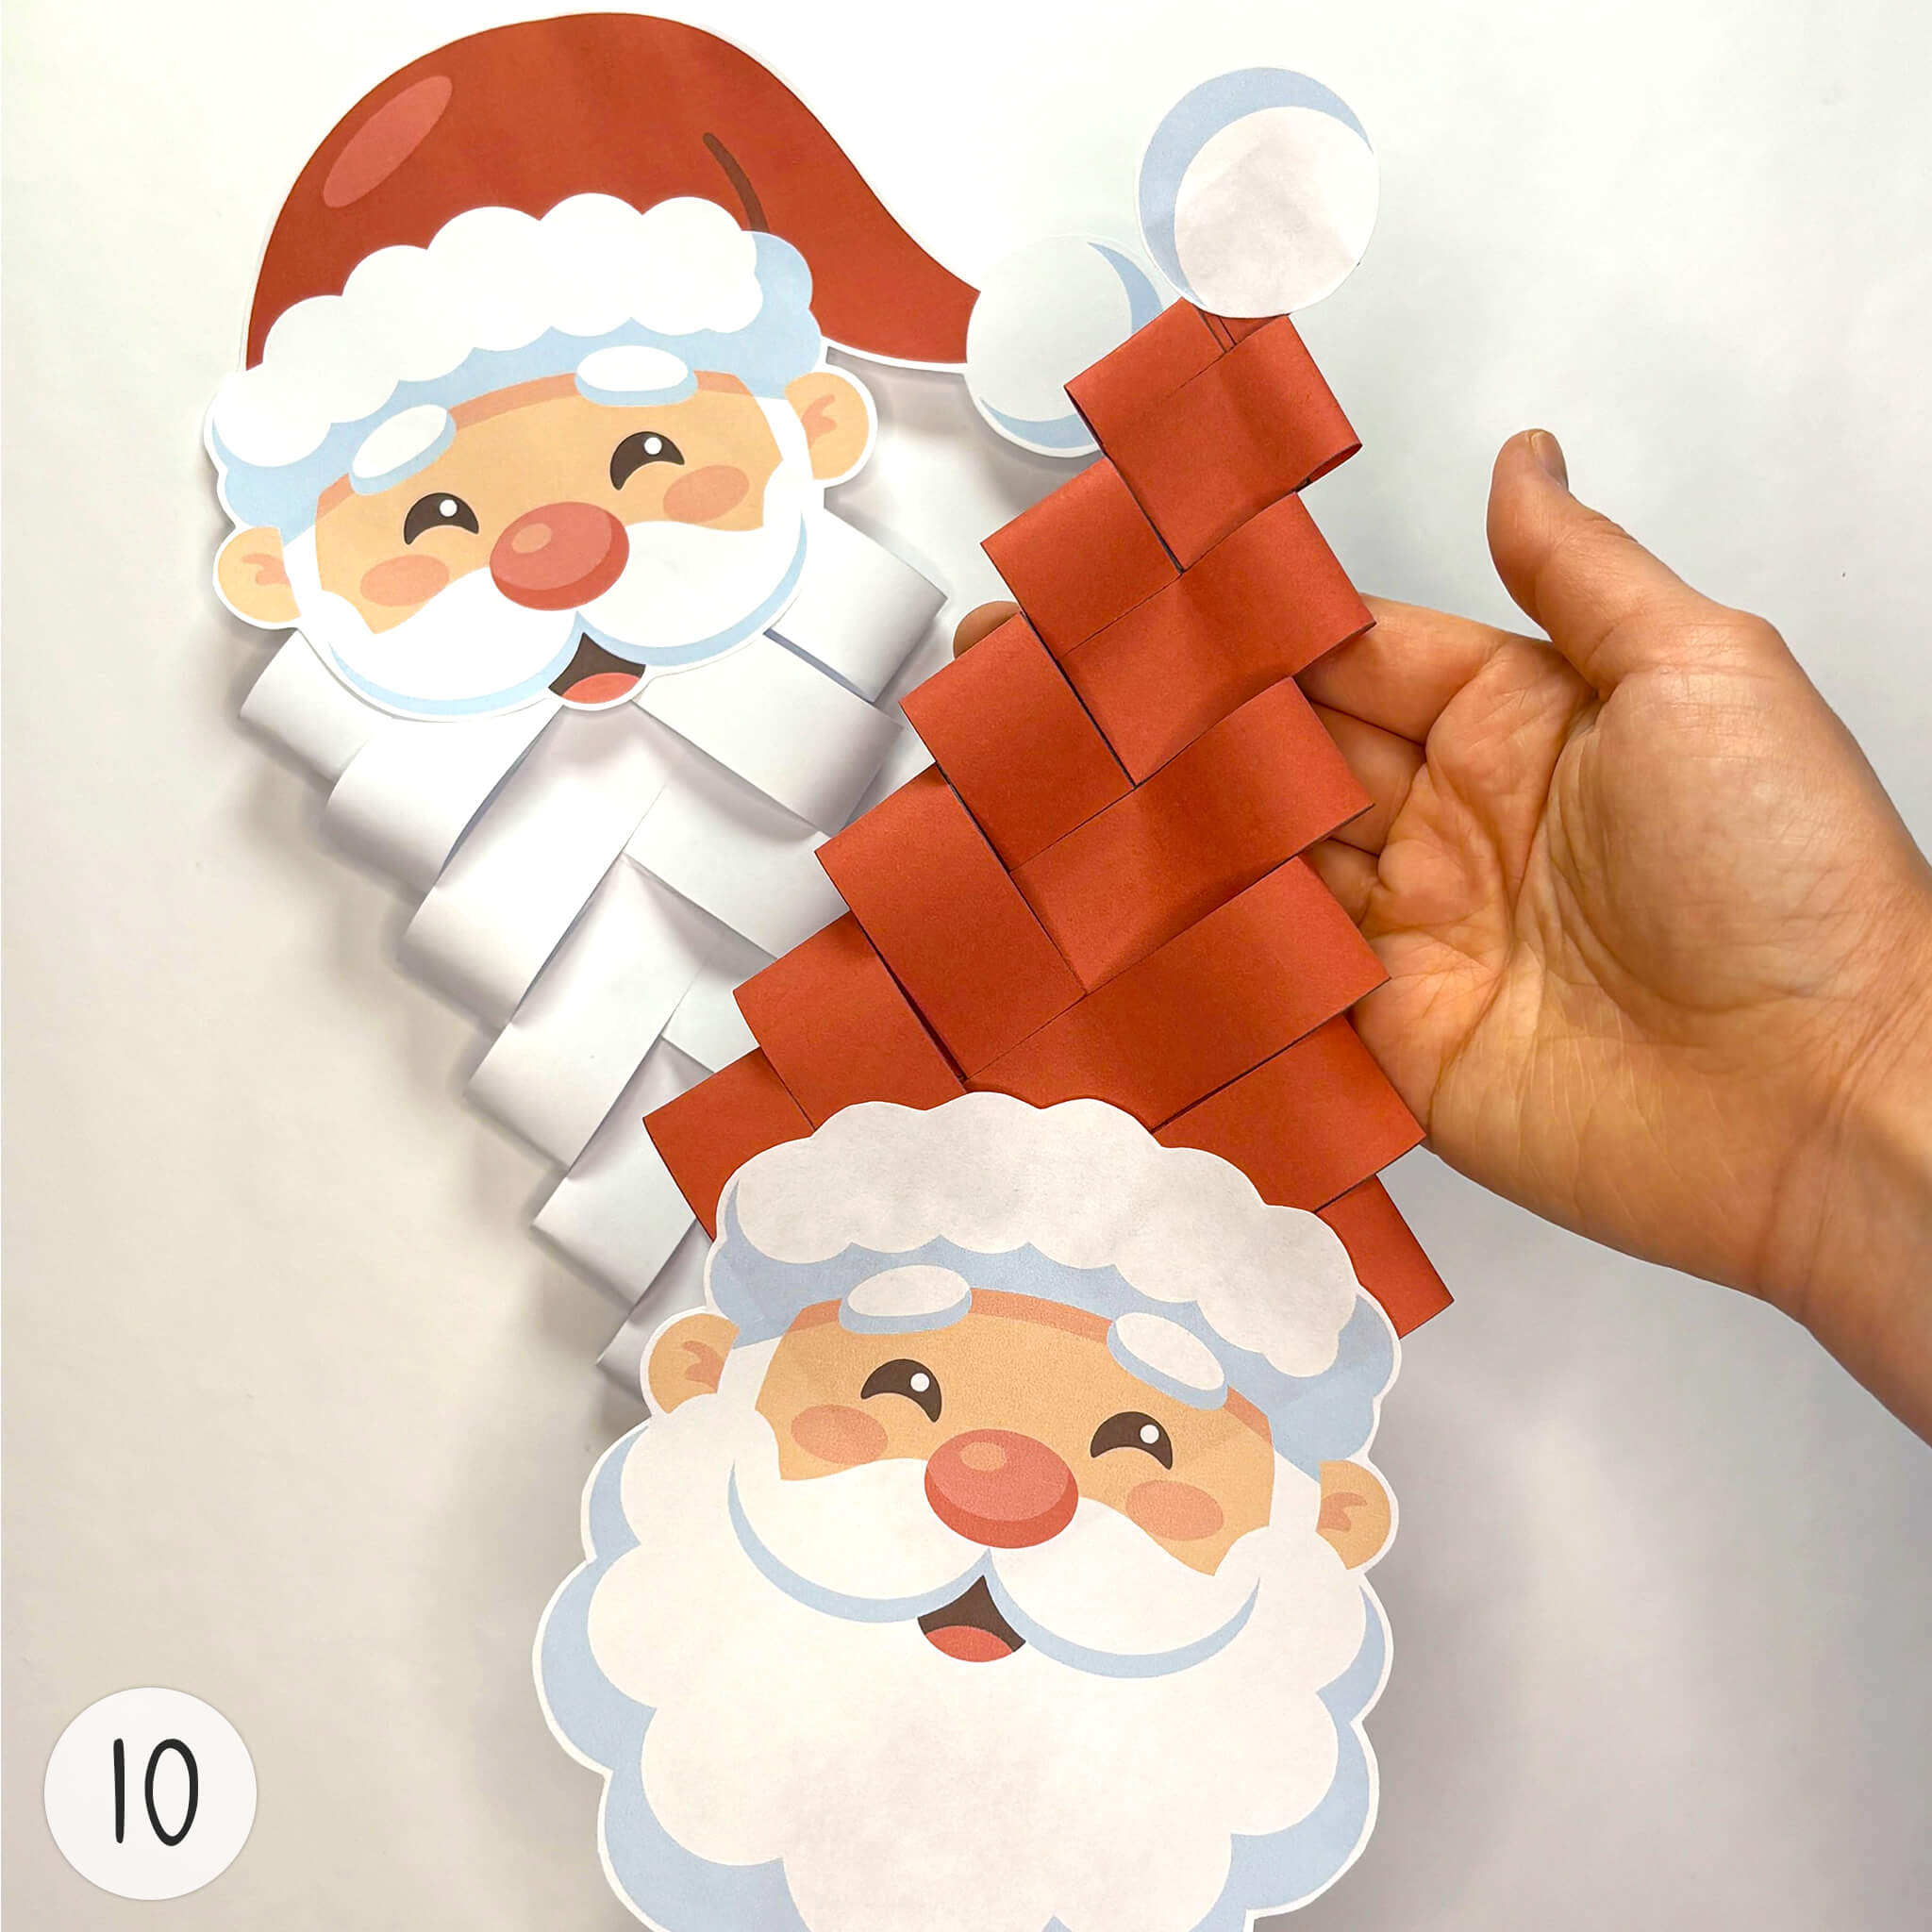
Glue the red piece to the top of Santa's head, then attach a pom-pom to the pointed tip. Next, glue the white piece to the bottom of the second Santa Claus face to create a beard.
10
We finished both three-dimensional crafts. Using the paper weaving technique, we made two characters: One is Santa Claus with a long, voluminous beard, and the other is Santa Claus with a tall, textured hat. They can be used to decorate a child’s room or a Christmas tree.
We also recommend


Comments